A wedding dress saga
/Navigating another big life event with needle and thread
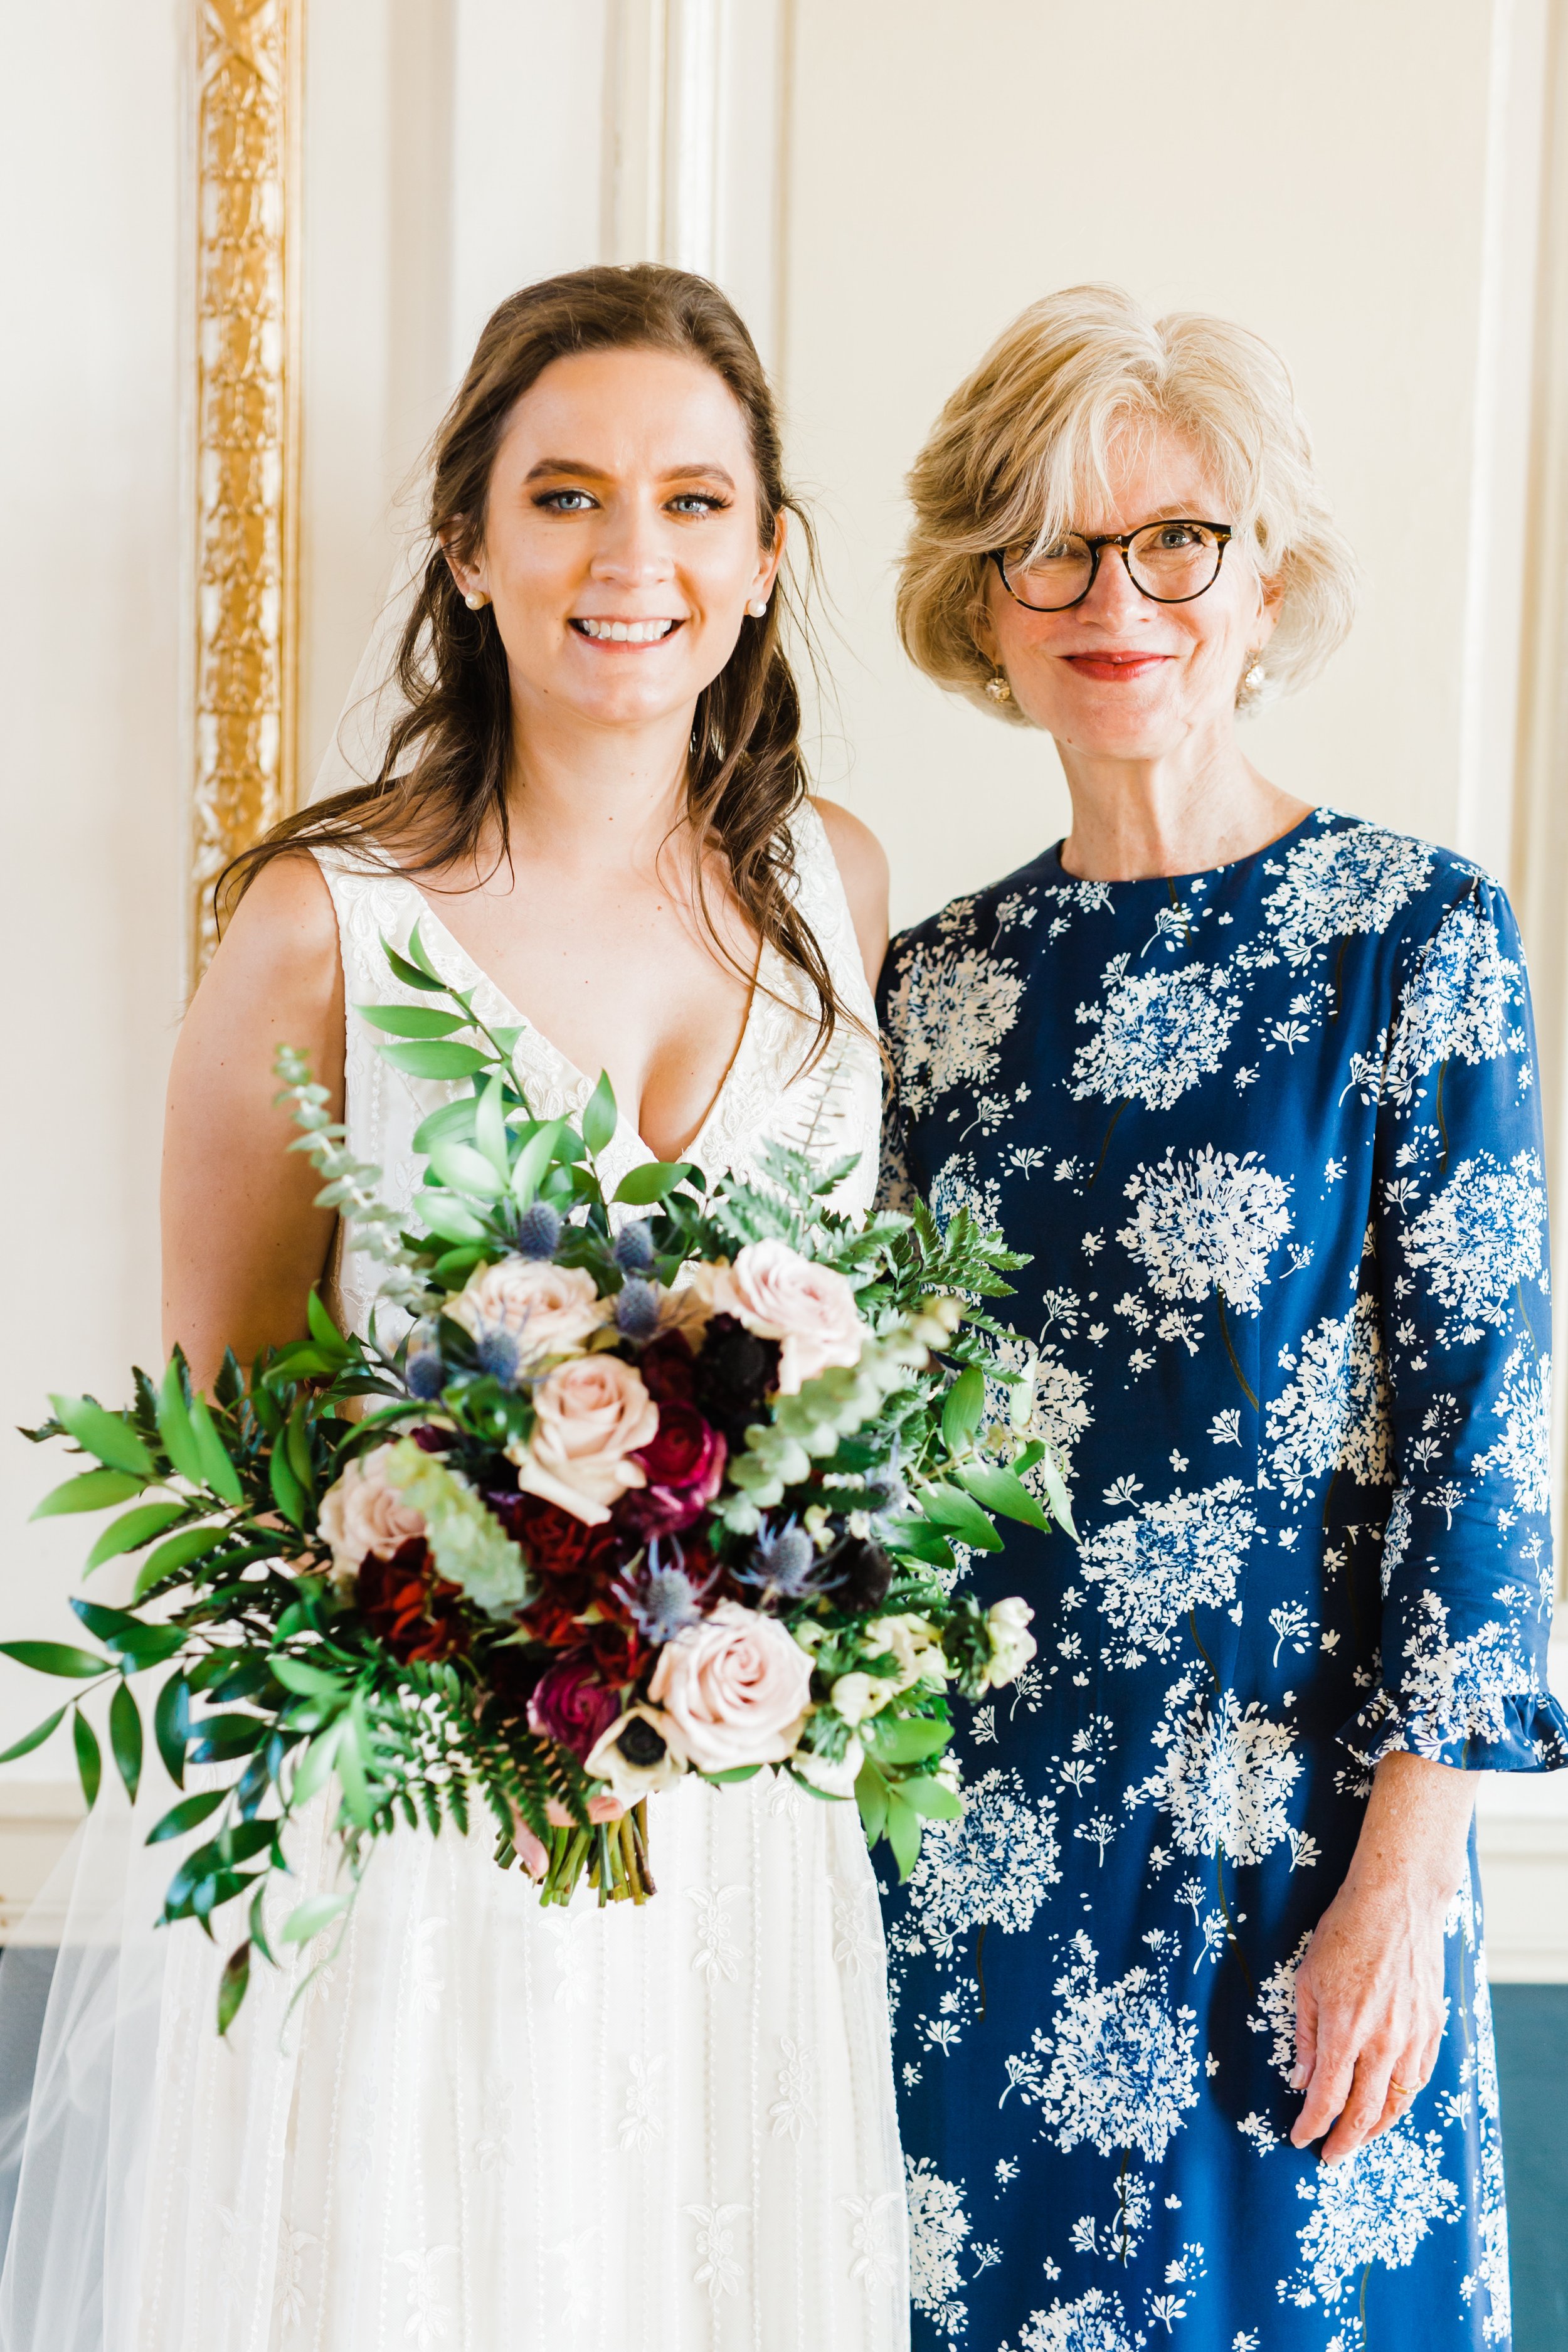
I wasn’t going to write about making my daughter’s wedding dress. I actually tried to keep my dressmaking role for the big event on the down low. To be honest, I was terrified throughout the entire process. I know this might sound unusual for someone who has spent a lifetime making clothes for special occasions. I made my own wedding dress -however, that was a hundred years ago and I was too young and stupid then to doubt myself. And clearly, it’s different when you need to figure out how to interpret the dreams of someone else- even if it’s your own daughter. Tears were shed more than a couple times on this journey, But, in the final review I noted that I spent countless hours scouring the internet whenever I was stumped, so I decided I to jot down what I learned. I found a great deal of guidance and support online. Maybe someone will find a helpful nugget from my experience -so here goes.

Where to begin? I will say in the final analysis that this dress required more thinking than doing. I seemed to be stumped every step of the way. First, full disclosure- I have been sewing forever- but not couture sewing- just everyday bread and butter kind of sewing. I really don’t know anything about dress fitting or lace. I know how to sew for my body because i have a long relationship with it- and understand it intimately. But as it turns out- some fitting skills are extremely important if you are sewing for another body. And specialty fabric sewing is a subject you should brush up on if the bride loves lace. Lace is a complicated fabric territory; I discovered at least 21 different varieties of lace when I started researching.
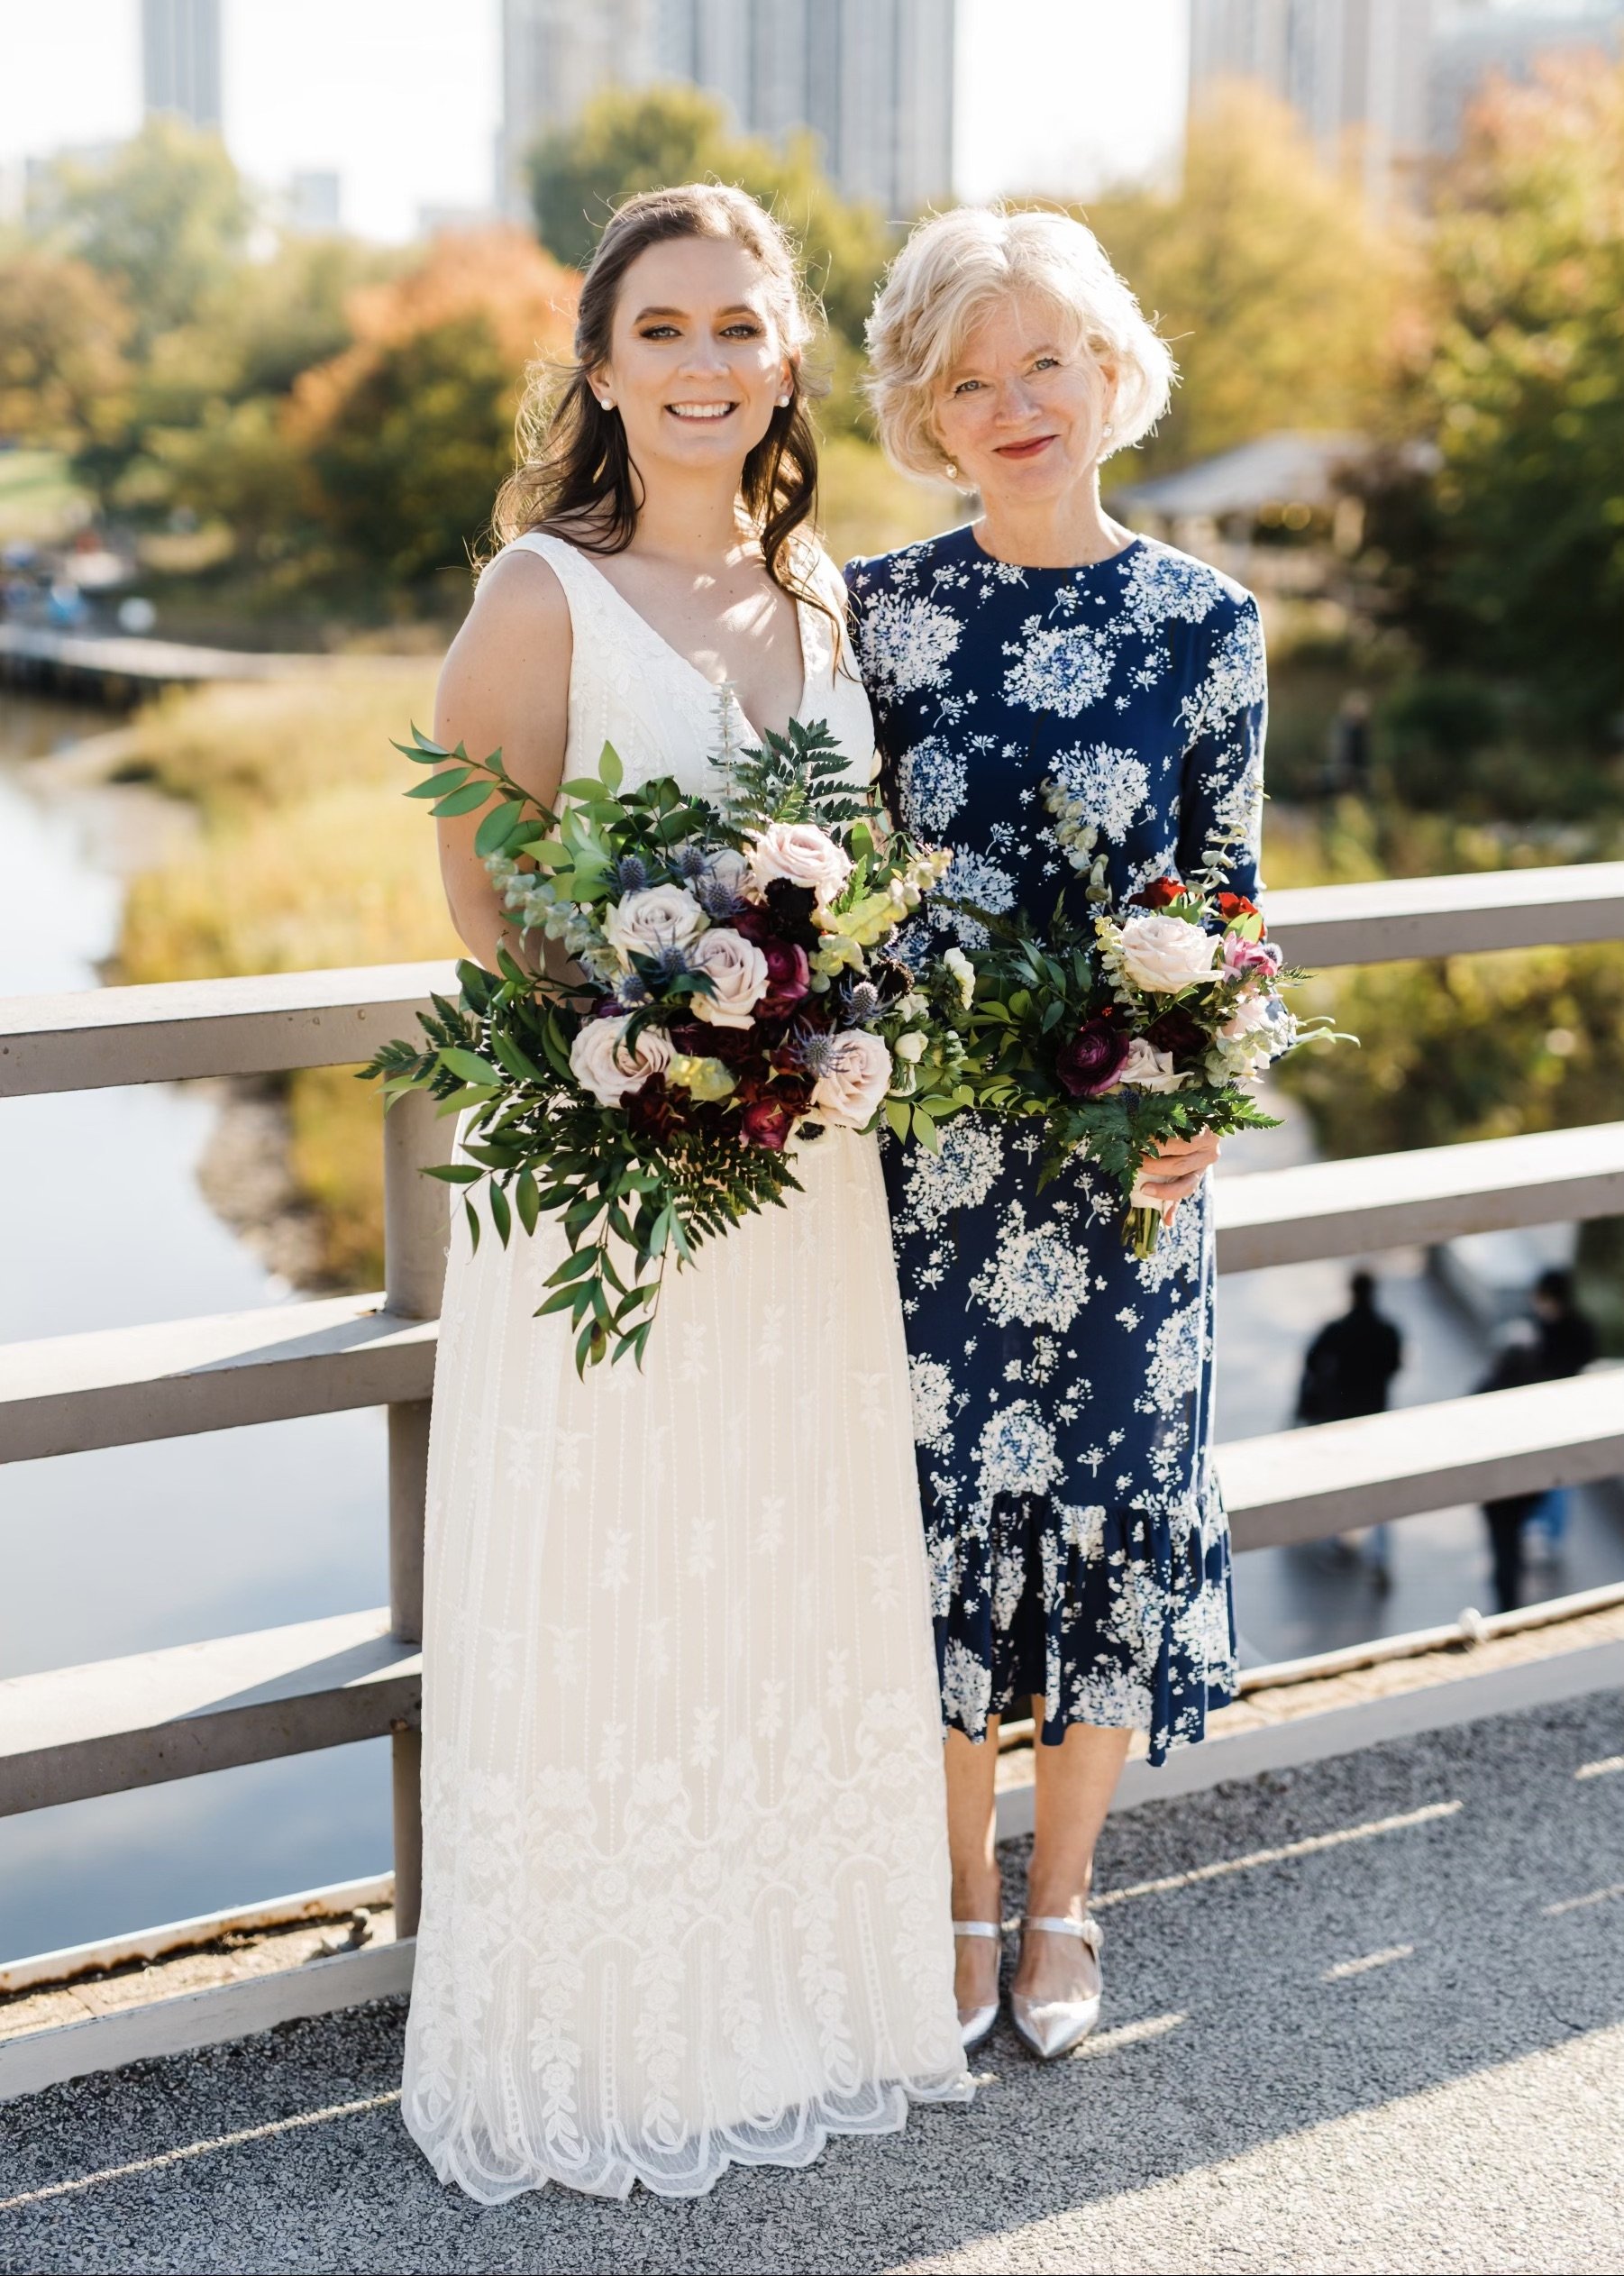
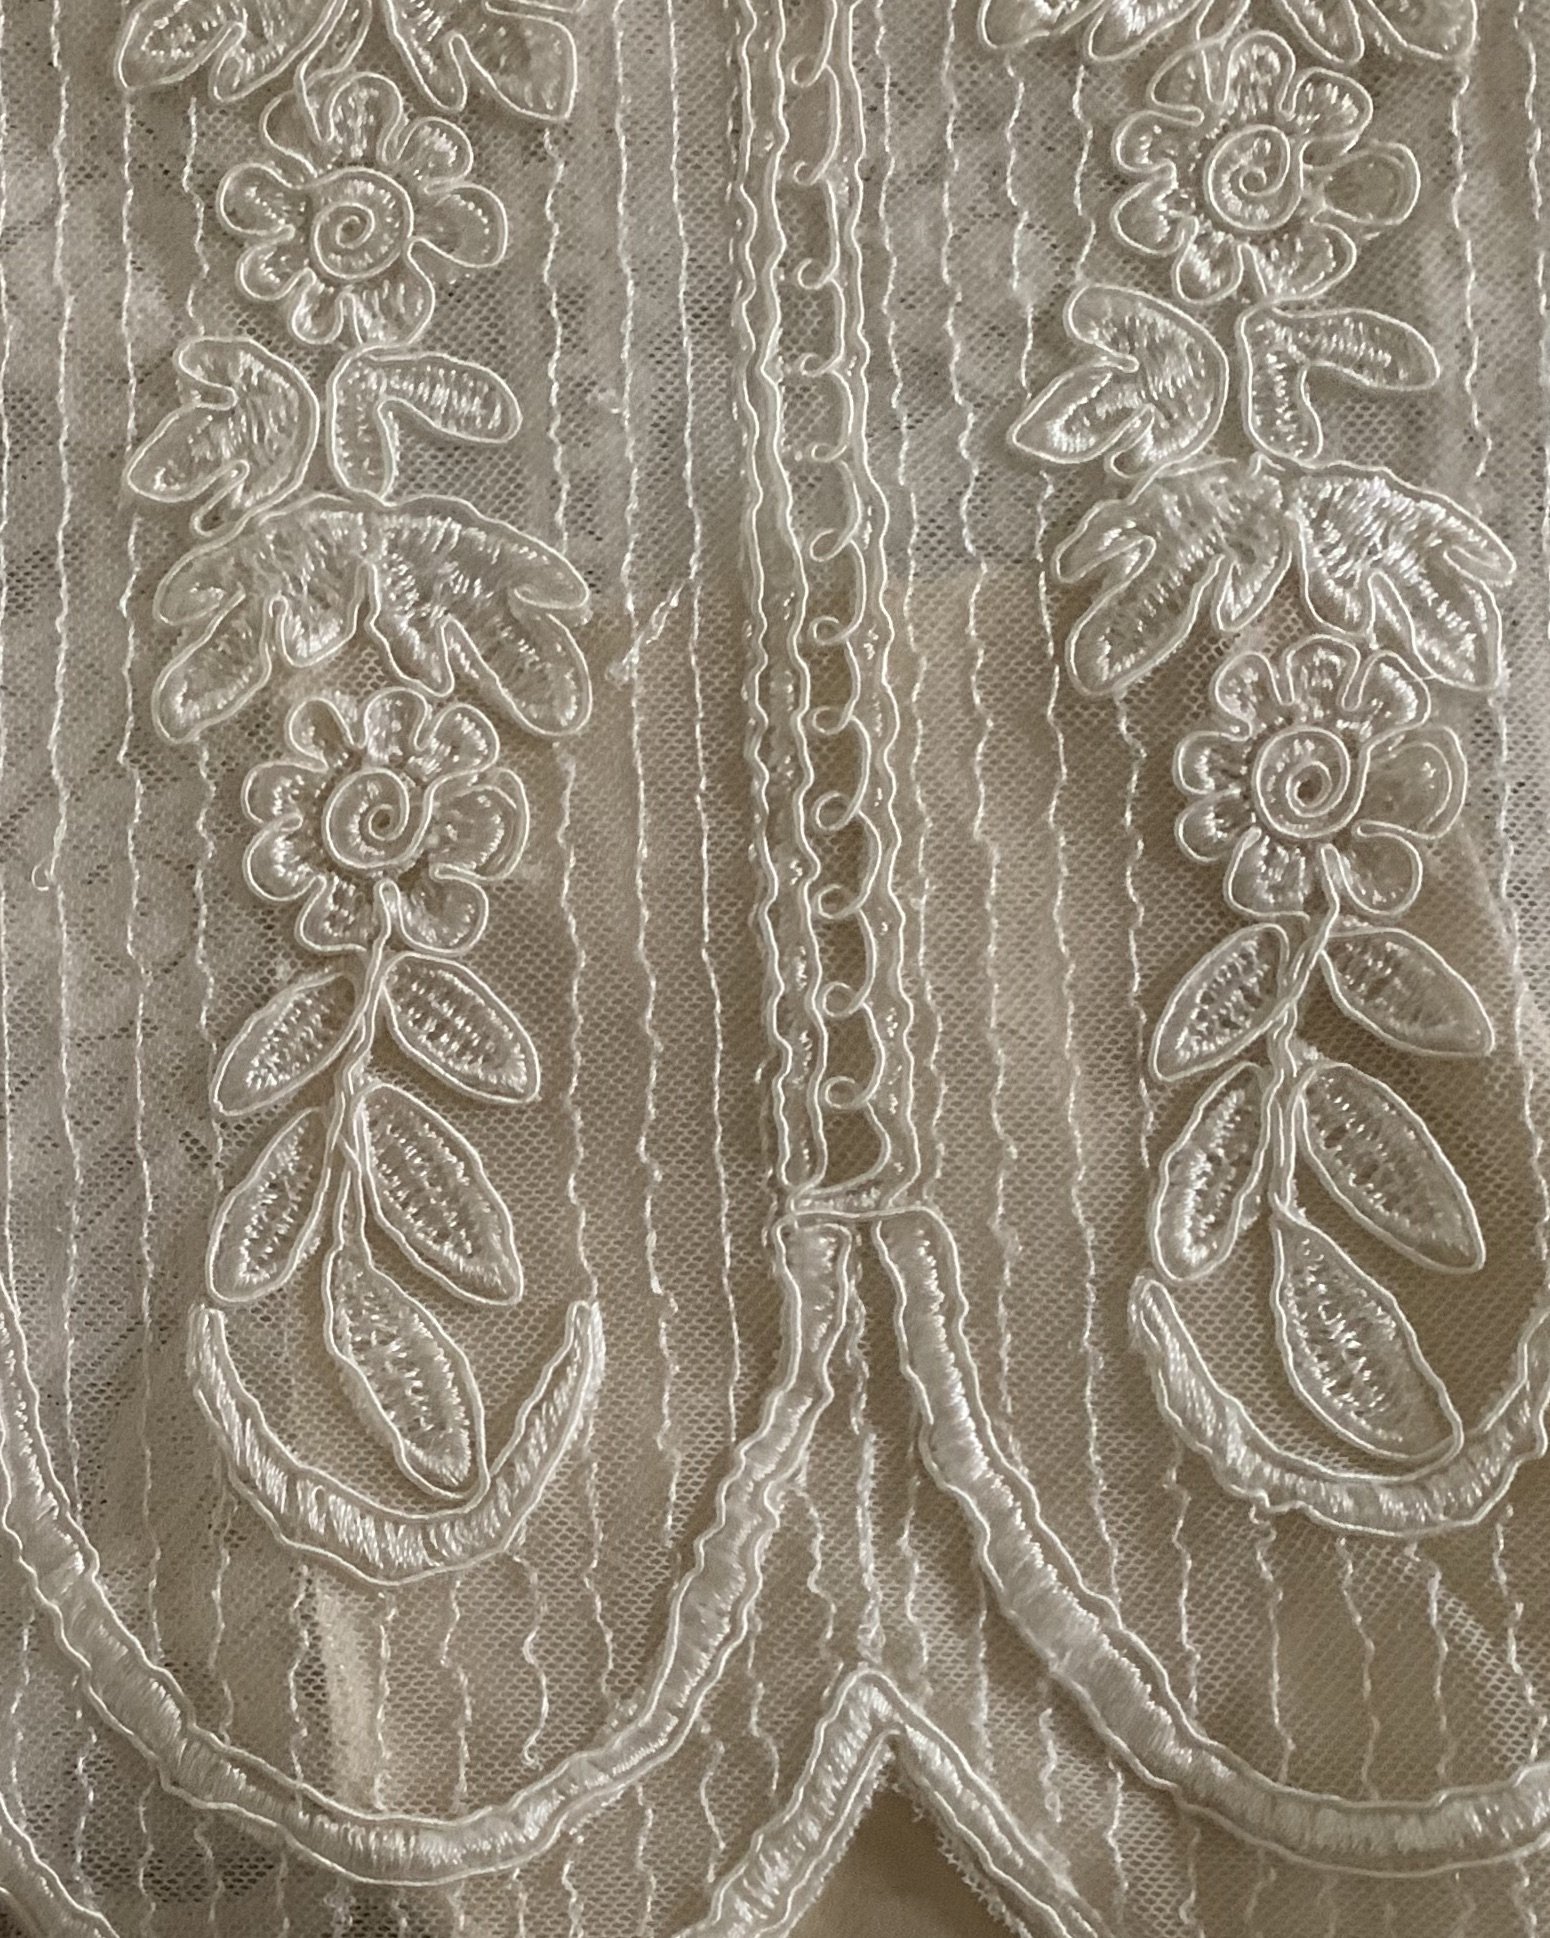
As is our habit in our DIY lifestyle, we ended up plunging in head first and went shopping for lace fabric without a firm idea about pattern and style. My daughter had tried on some ready-made bridal gowns- and liked elements of dresses, but we were still unsure about the exact vision. The local fabric stores in my city don’t stock lace, and I wasn’t confident enough to shop online for such an unfamiliar product. My daughter and I drove an hour to Rochester, Minnesota to Ginny’s Fine Fabrics where Ginny stocks a wide variety of lace and other special occasion fabrics. Pretty quickly, my daughter fell head over heels in love with an open netted ivory lace with a significant border design. The store had two pieces that totaled about 2.75 yards in width. We picked a coordinating duchess satin for lining and a piece of ivory guiperre lace for making appliques. The heart ruled the day- and then the next morning I panicked. We didn’t really have enough fabric for the ball-gown styles that my daughter loved, and we didn’t have a clear consensus on design. I went down the rabbit hole of wedding dress online browsing and we negotiated back and forth (read heavy negotiations, strong feelings, etc.) over the style. We also had to wrestle with some serious style constraints given the fabric’s predominant vertical design and the scalloped border. Given all these issues- I suggested and we finally settled on a simple and straightforward a-line shape.
I made a toile out of a nice pima silky cotton that I intended to use as the lining in the final dress. The design I drafted included a deep v-neck, narrow shoulders and a deep v in the back. I did use Simplicity 2648 pattern front pieces to help create a princess style bodice block because this pattern includes several bra cup sizes which I have used to create a bodice block for this daughter. After I made a toile and drove 7 hours to Chicago –where my daughter lives- to fit the toile and debate about waistlines- (read- this was VERY difficult) - I returned home and took the toile apart to use the pieces of the toile as pattern pieces for the dress.
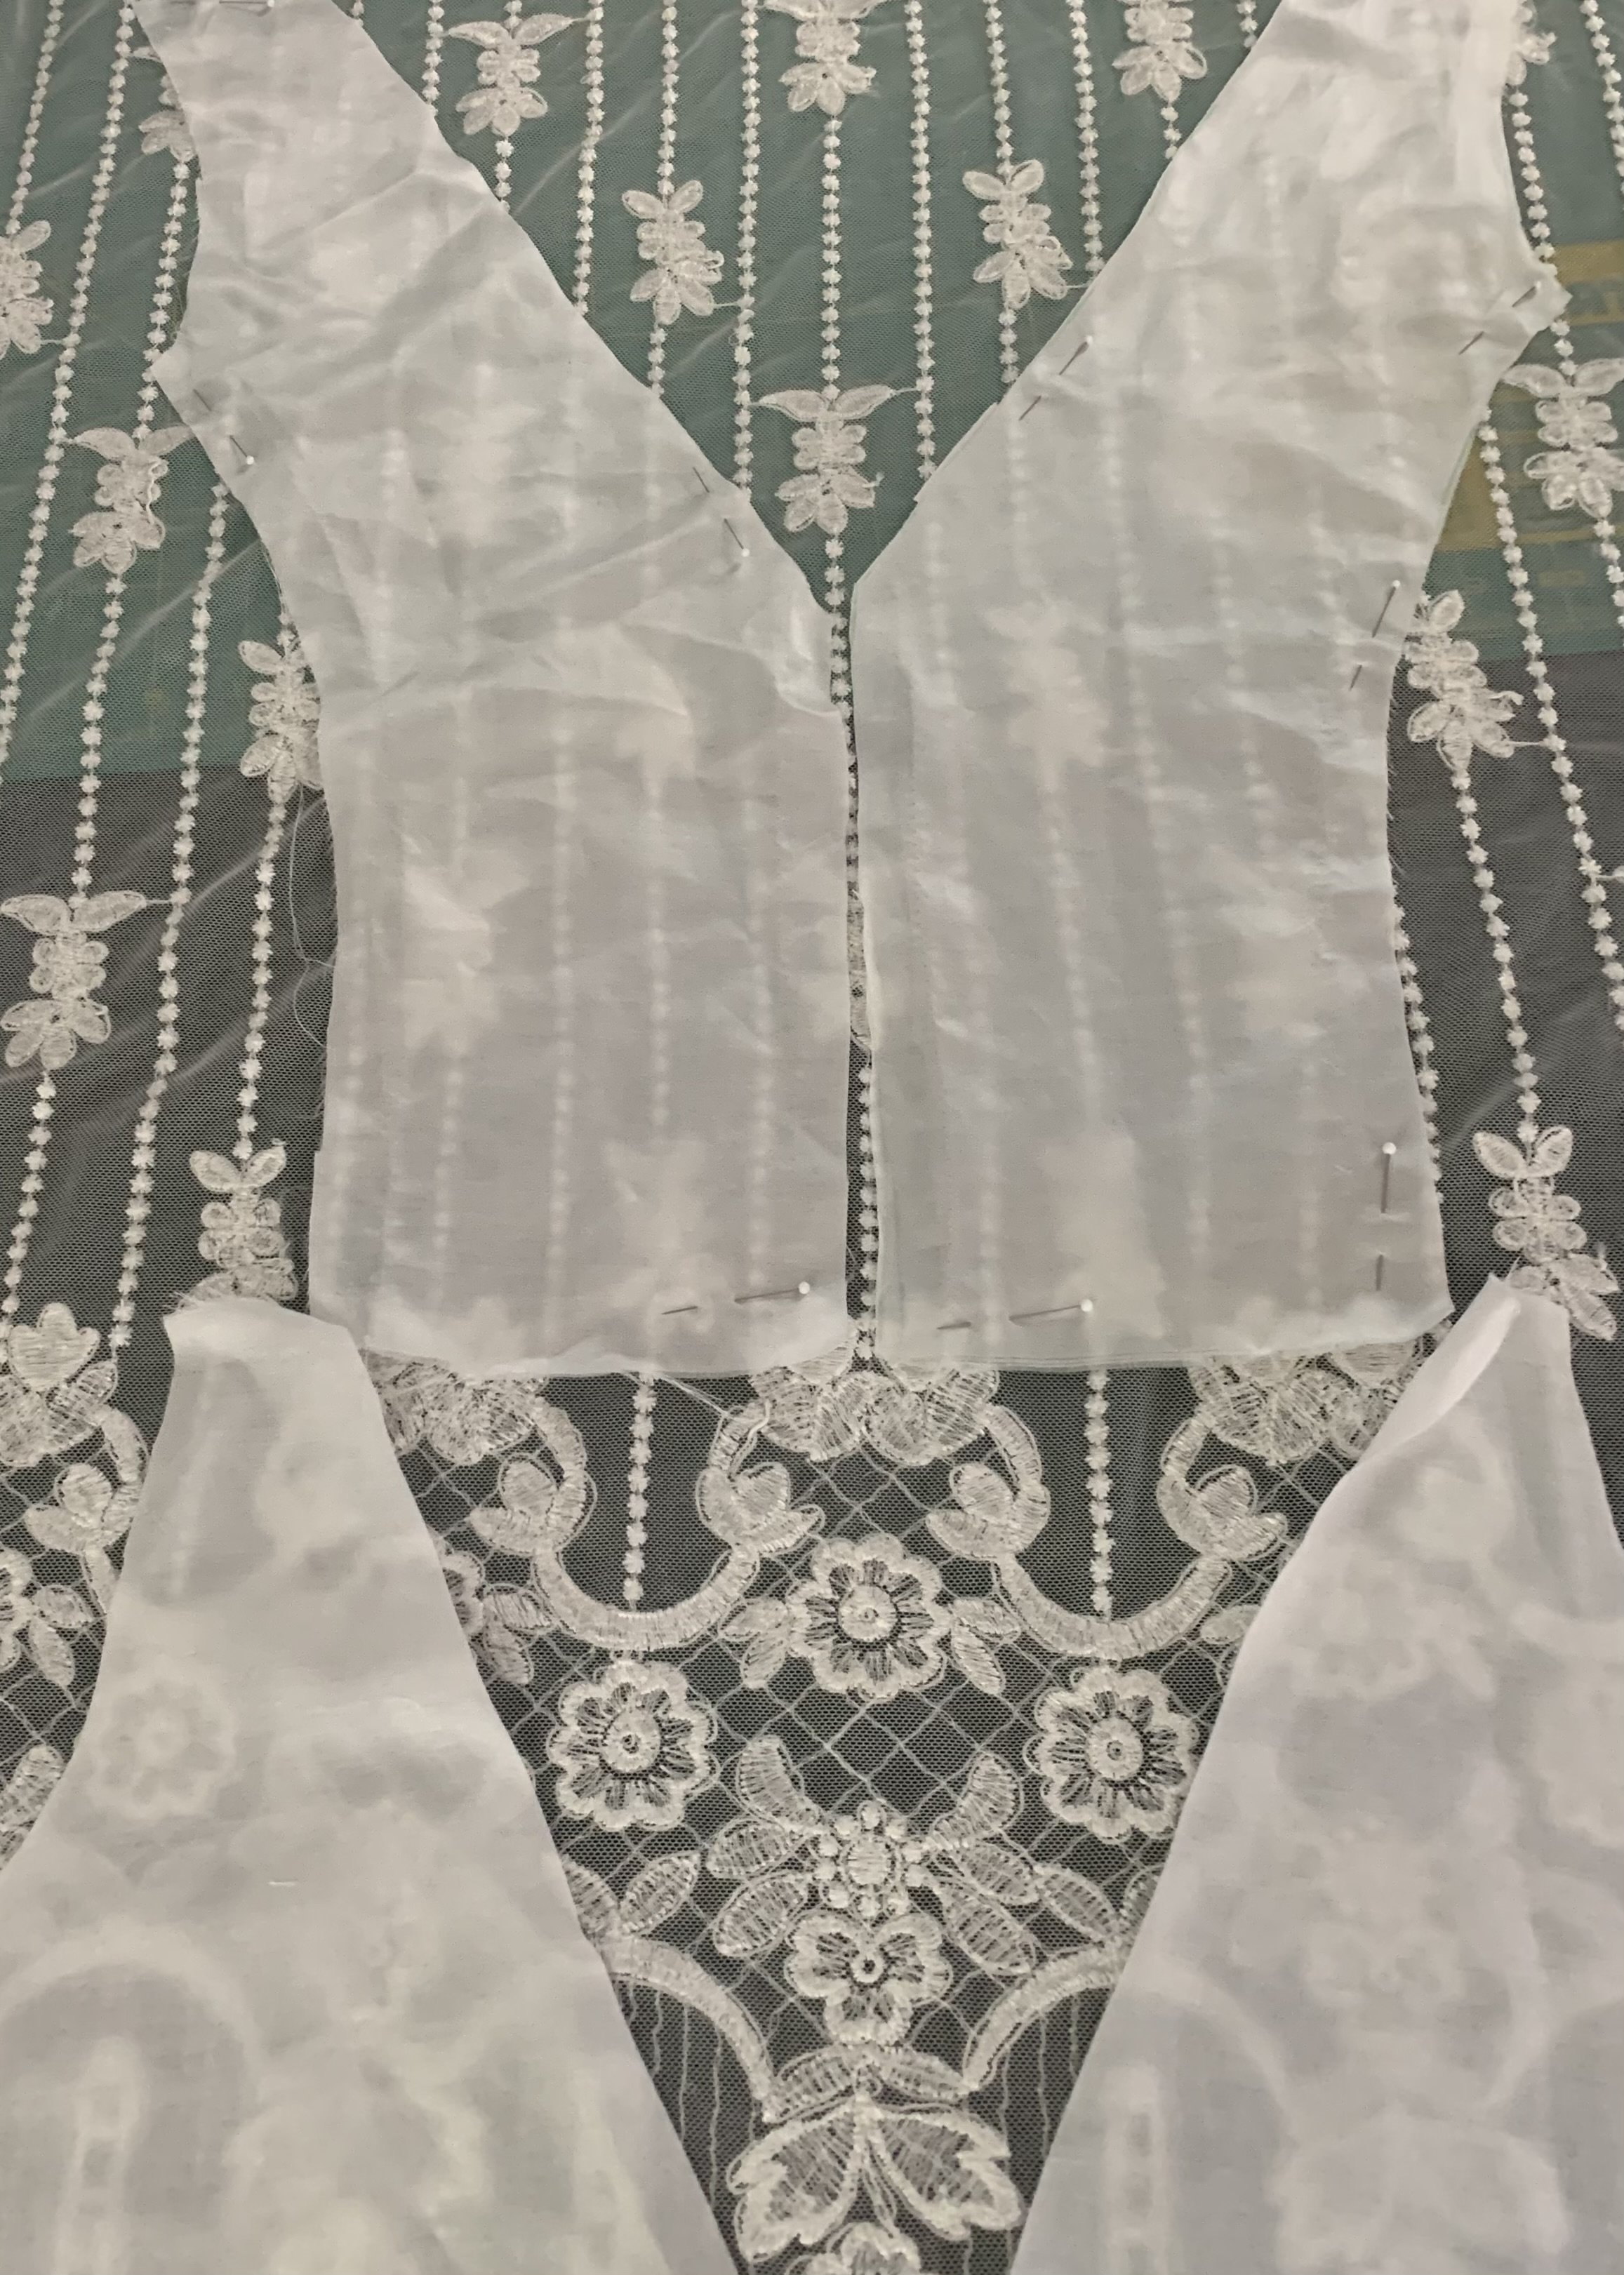
I probably should pause here to admit the first of many times I was paralyzed to move on. The lace was obviously expensive- but in addition- there just wasn’t much fabric and virtually none to spare- read: not enough fabric at all! So I couldn’t make a mistake- I also had to figure out how to fabric match the lace design in the bodice and puzzle out how to cut out the dress using minimum yardage so there was enough for a skirt. Amazingly, I was able to cut out and pattern match the bodice with almost zero waste- these are the scraps left from cutting out the bodice.

Whew- momentary relief and then paralysis set in again- and I went back to the internet. One of the first considerations with lace is seam finishes and how to make them look great given the sheer fabric. I planned to use the silk satin to line the dress- but unlike typical linings where the seams are sandwiched together, I underlined the bodice, so the lace and satin were sewn as one piece. That way the seam is encased and invisible. First, I hand basted the lace to the silk and assembled the bodice in that manner- taking care to line up motifs. I added some lace appliques to the bodice using an amazing invisible thread called wonderfil. My hand stitching leaves allot to be desired and this thread was a game changer.

Once the bodice was constructed I set about to tackle the skirt. Another decision point because I needed to treat the skirt seams differently. I didn’t want to sew the lace into the skirt lining side seams. I wanted to keep the skirt floating freely from the waist and the lining completely separate. So how to handle the skirt side seams?
The lace is quite open so I couldn’t use the matched motif method most often used and discussed in this Threads video: Then, I saw one wedding dress maker who used French seams on an open lace. I did a French seam test on some scraps and that actually looked pretty spiff and wasn’t too difficult- mostly because I know how to do French seams.

The next decision crossroads was length of the skirt. The silk underskirt would skim the floor- that was an easy decision, but I debated on how long the lace overlay should be. It could also skim the floor, but the bride had wanted a train- impossible with an a-line skirt and limited fabric- but the dress could have a bit of a train-like feel if the lace pooled a bit on the ground. I struggled with how much to pool- which was impossible to see without attaching the skirt and trying it out. I attached the skirt and then tried it on the youngest daughter for effect because she was the only body on hand. I ended up deciding to lessen the pooling- so I had to re-attach the skirt in the end.
Even though this is an a-line silhouette, I wanted maximum fullness at the dress bottom. I used a horsehair trim on the silk underskirt- demonstrated below to give the skirt a good shape. I also added a strip of folded tulle on the edge of the lining to add a bit of fullness.

I put off the back closure until the very end. I didn’t want to make a seam down the back of the skirt because the lace border is so pretty and there is that wedding dress back interest requirement. So, I made a 7 inch slit at the waist and made a placket faced with silk organza. I closed the slit with transparent plastic snaps. I had beautiful imitation pearl buttons from her great grandma that we wanted to use on the back of the dress but we both agreed there should be a zipper closure and the buttons would be purely decorative.

I settled on a lapped zipper installation and planned to pick stitch it in place. I was concerned about the strength of a pick stitched zipper so I sewed in a facing to the bodice back and then sewed the zipper to the facing first by machine and then I pick stitched the zipper facing in place to the bodice. I think the pick stitching is more elegant than machine stitching. You will also note the zipper is sewn into the silk of the skirt but the lace overlay is free of the zipper- that took some finessing during the zipper install- but definitely easier to do hand stitching instead of negotiating that by machine.

The last stressor was completing the final fitting two days before the wedding- I had to lug my sewing machine by car (7 hours again) to Chicago so I could do last minute fitting and alterations before the big event. I also managed to find time among all the preparations to add the customary blue touch and a truly heartfelt message for this celebration of love- courtesy of Kylie and the Machine.

P.S. My dress is also me made in a New York minute because I was - ahem- preoccupied. It is inspired by the flattering vampire wife dress style and cobbled together mainly from McCalls 7539 a tried and true dress block for me.