Roberts Wood Drafters Grid Dress- first draft
/I first glimpsed Roberts Wood Drafters Grid Dress last year at London Frocktails and when my flight home was delayed four hours, I spent nearly all that time researching the dress and every version posted on social media. While researching, I learned Roberts Wood design studio was founded by Katie Roberts-Wood a young designer who won -among other accolades- the Vogue Talents Award for her innovative techniques. I was struck by the interesting design and also by the unique interpretation of every dress due to all the piecework. The Grid dress is essentially like a pieced quilt- every version is completely unique. I was a little daunted because I am rubbish at precision sewing. It took a minute to work up the courage; I had the actual pattern in hand for nearly a year before I embarked on this project.
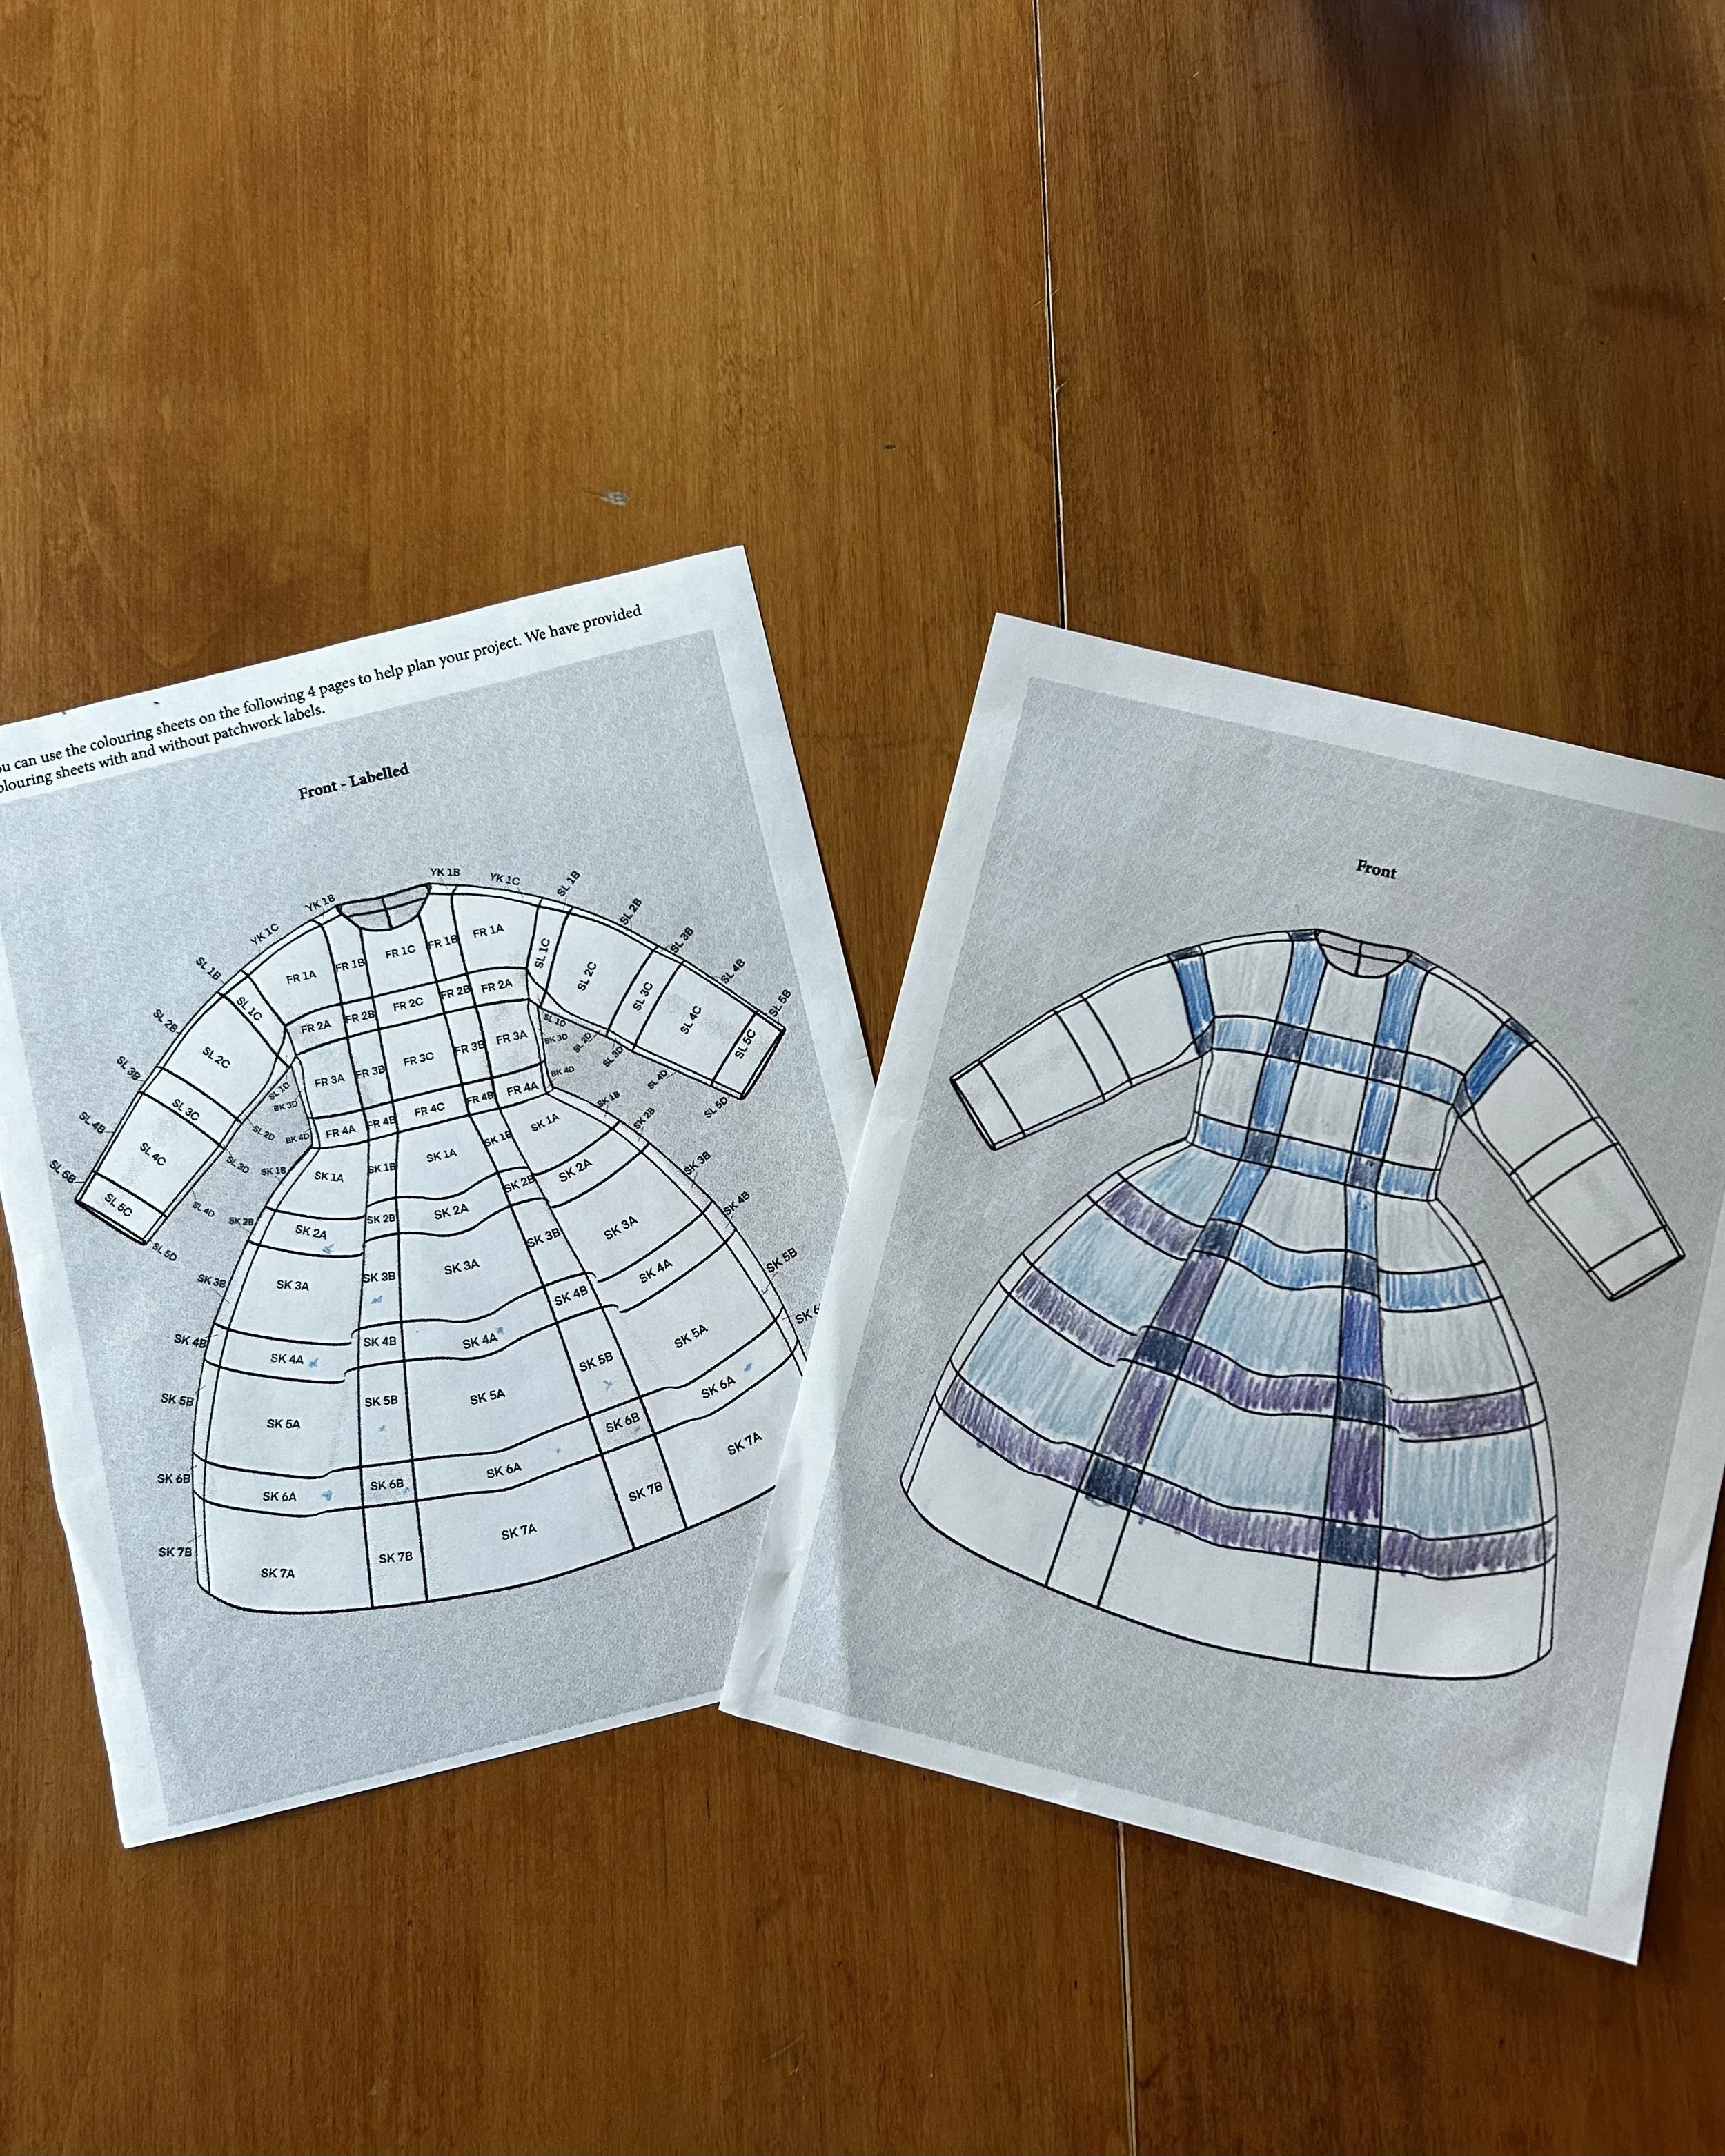
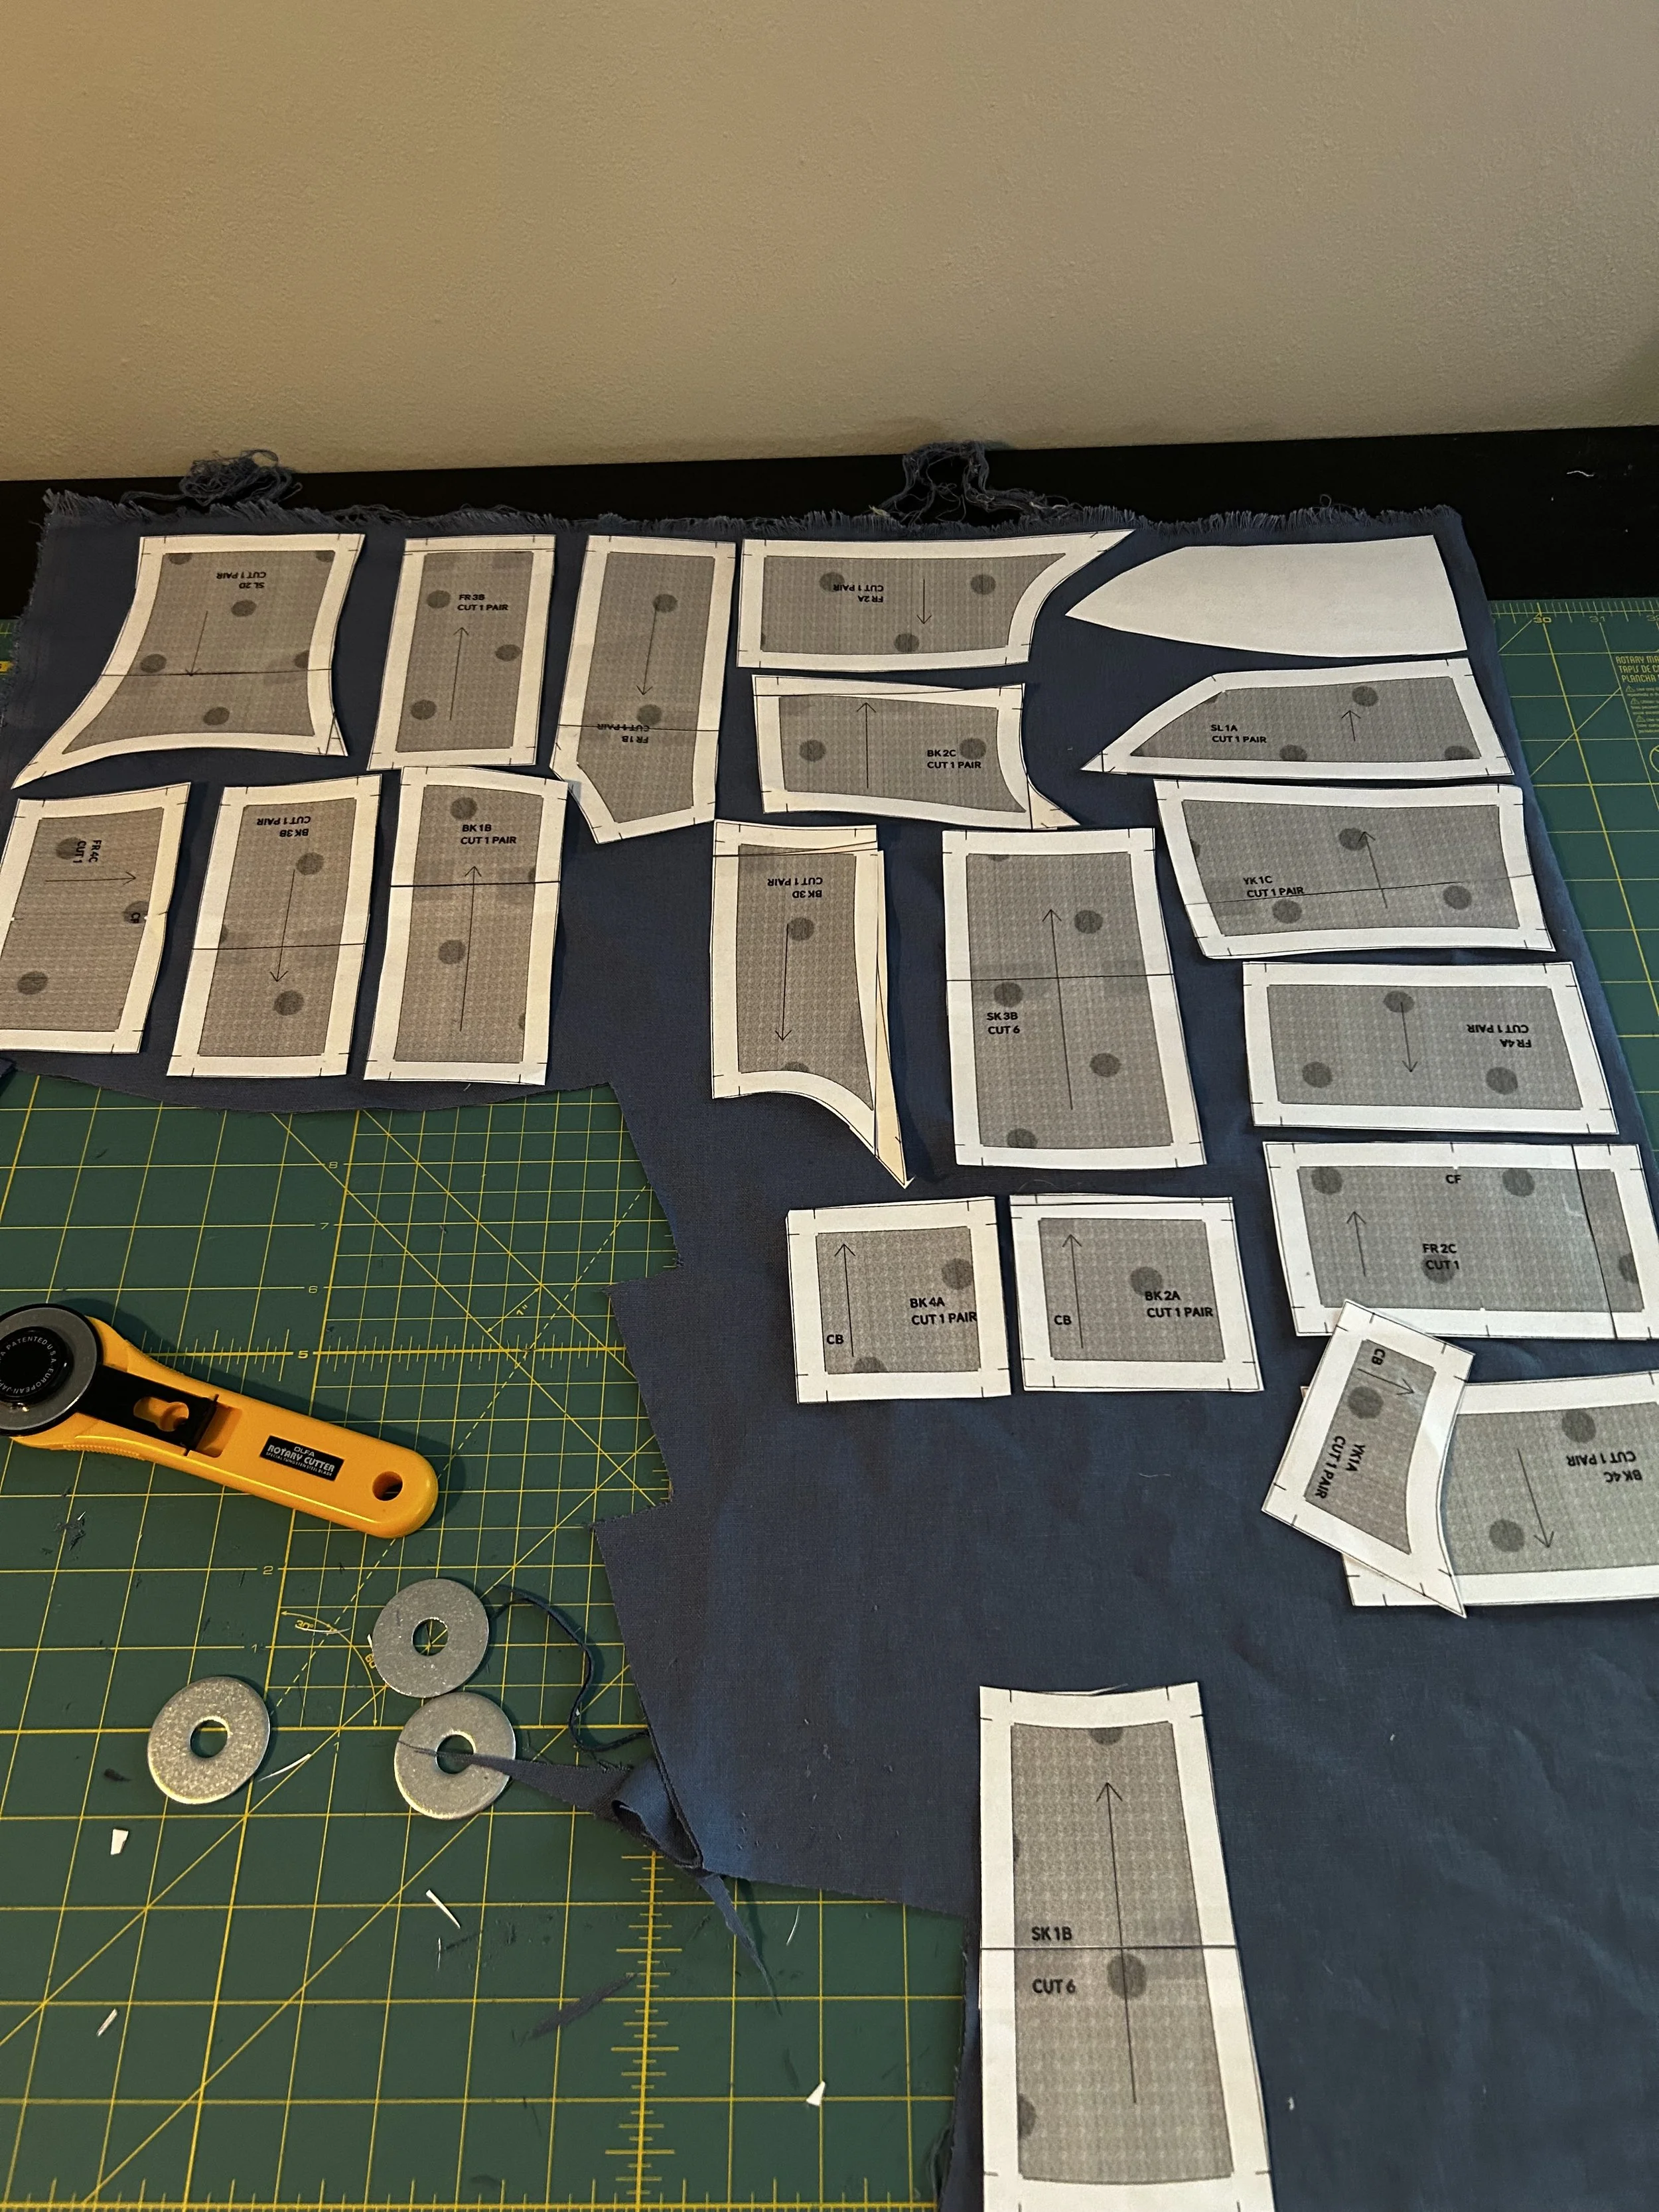
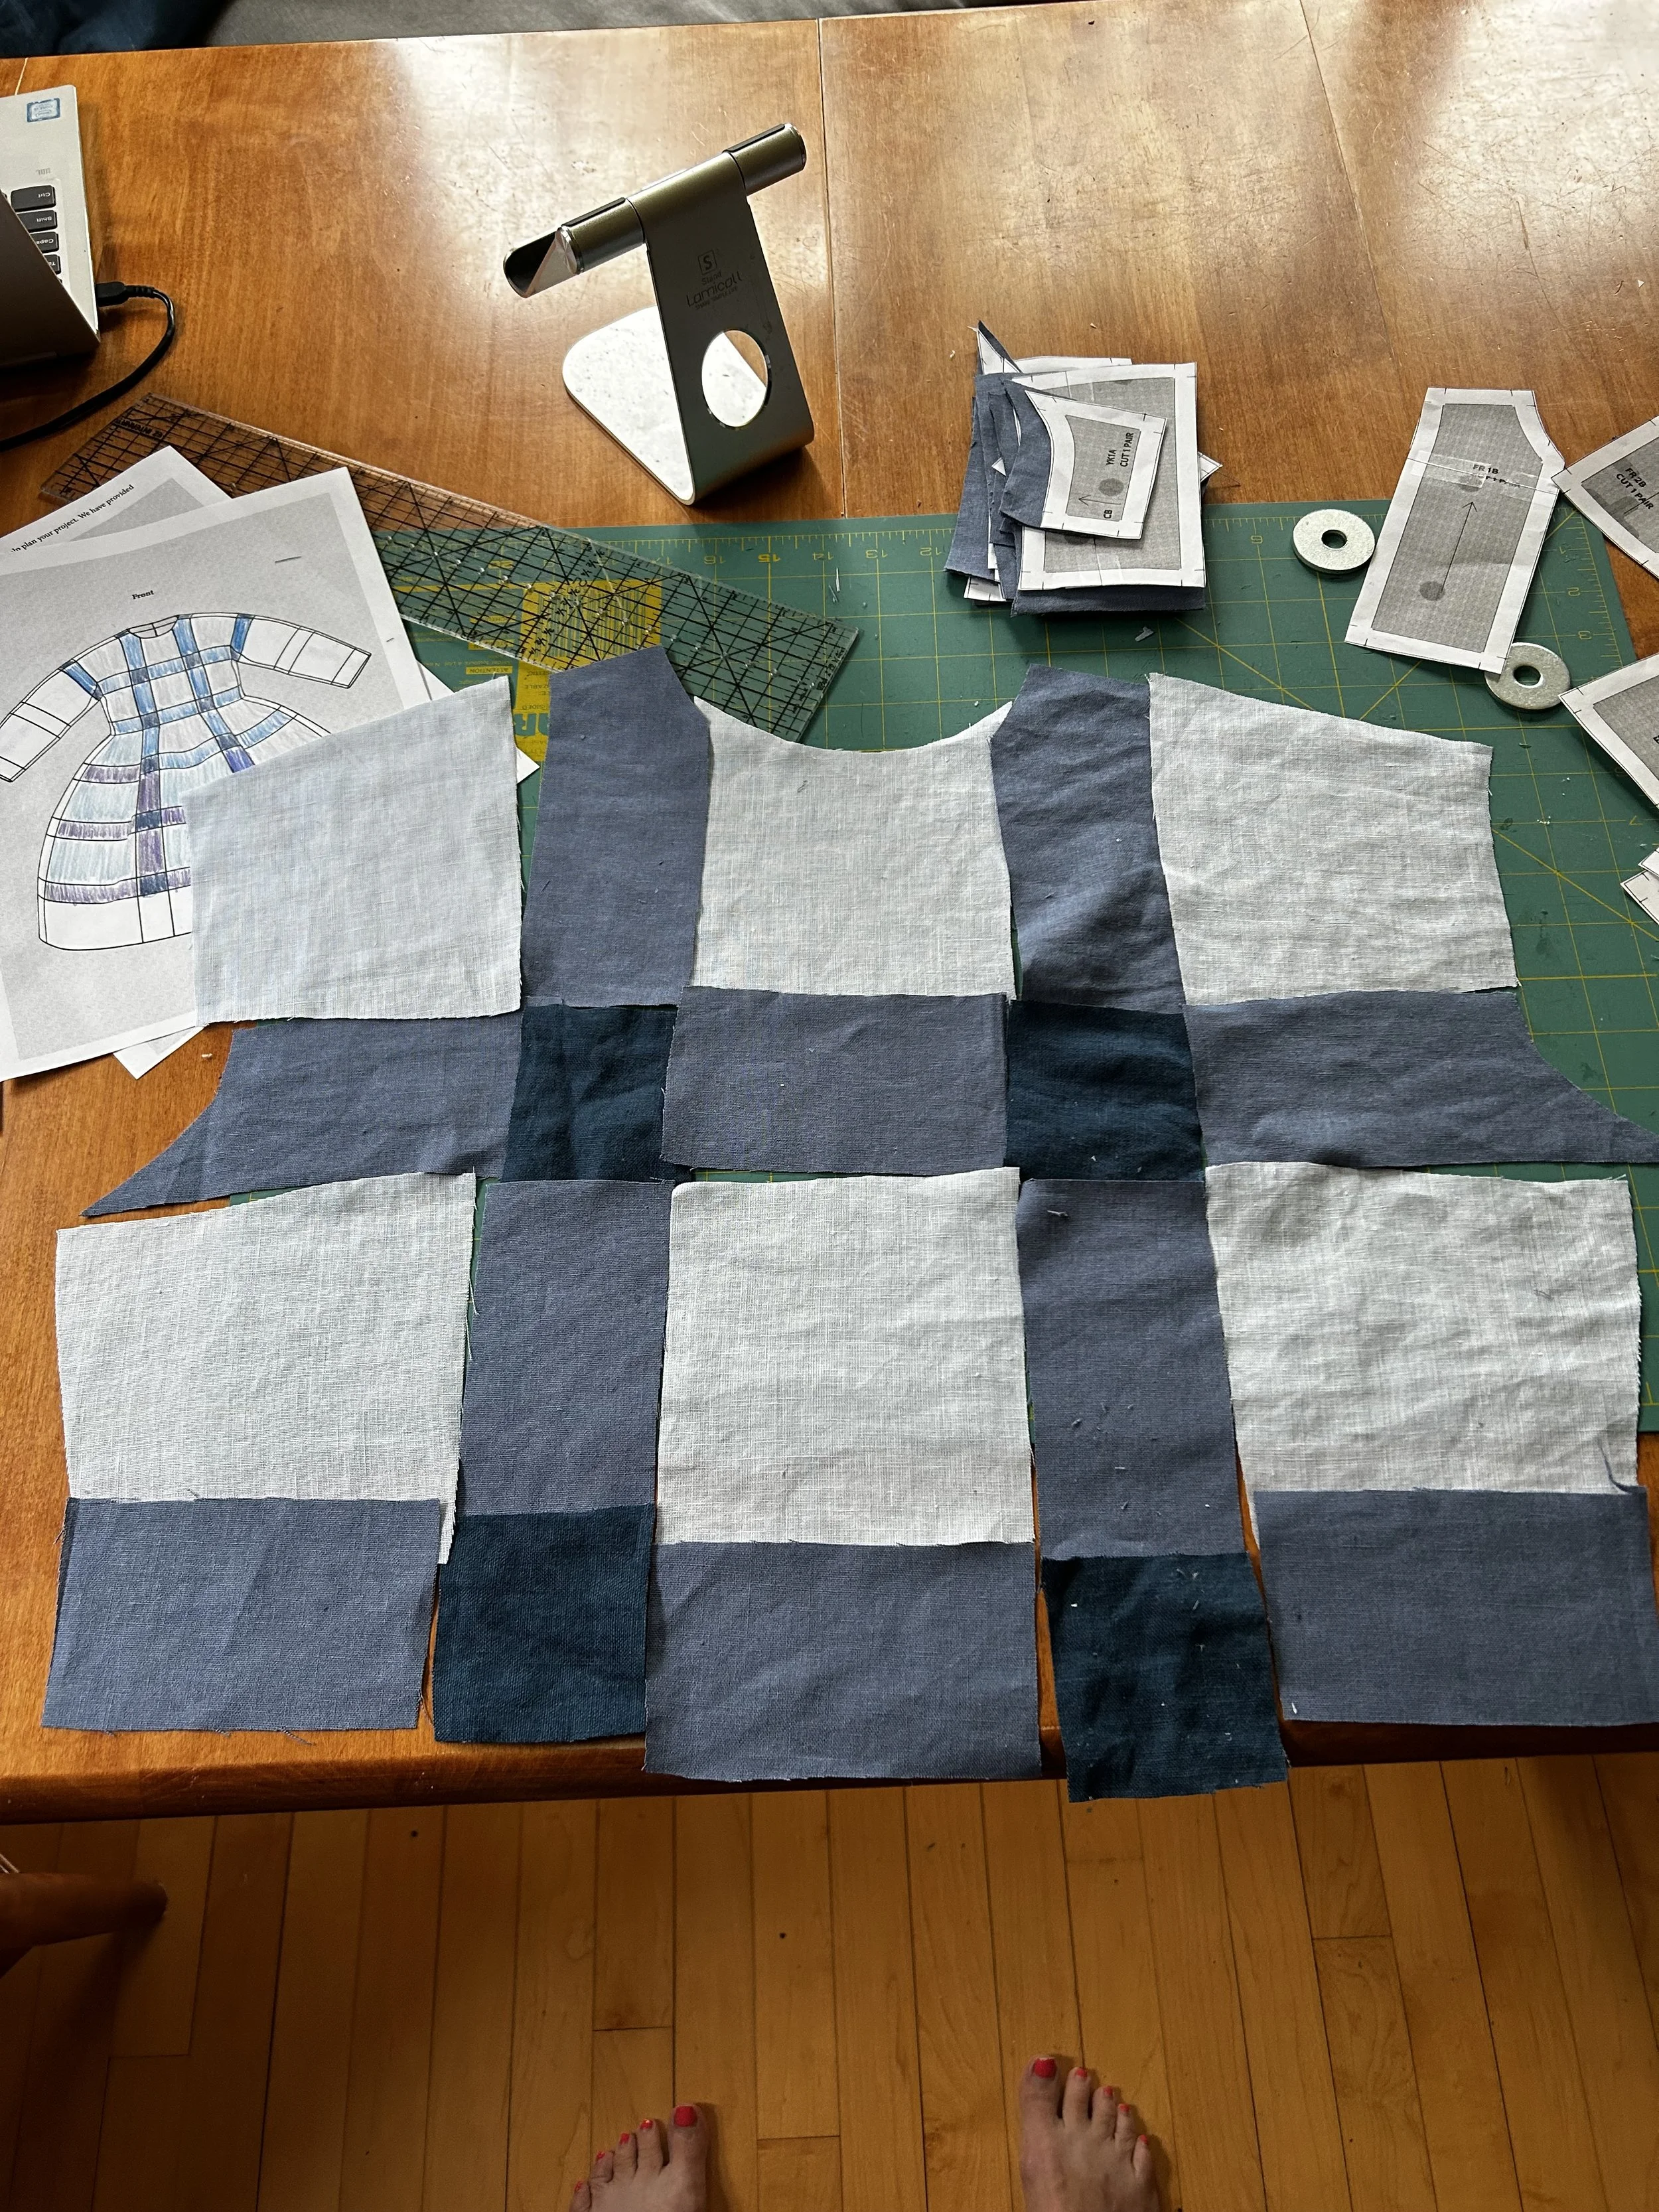
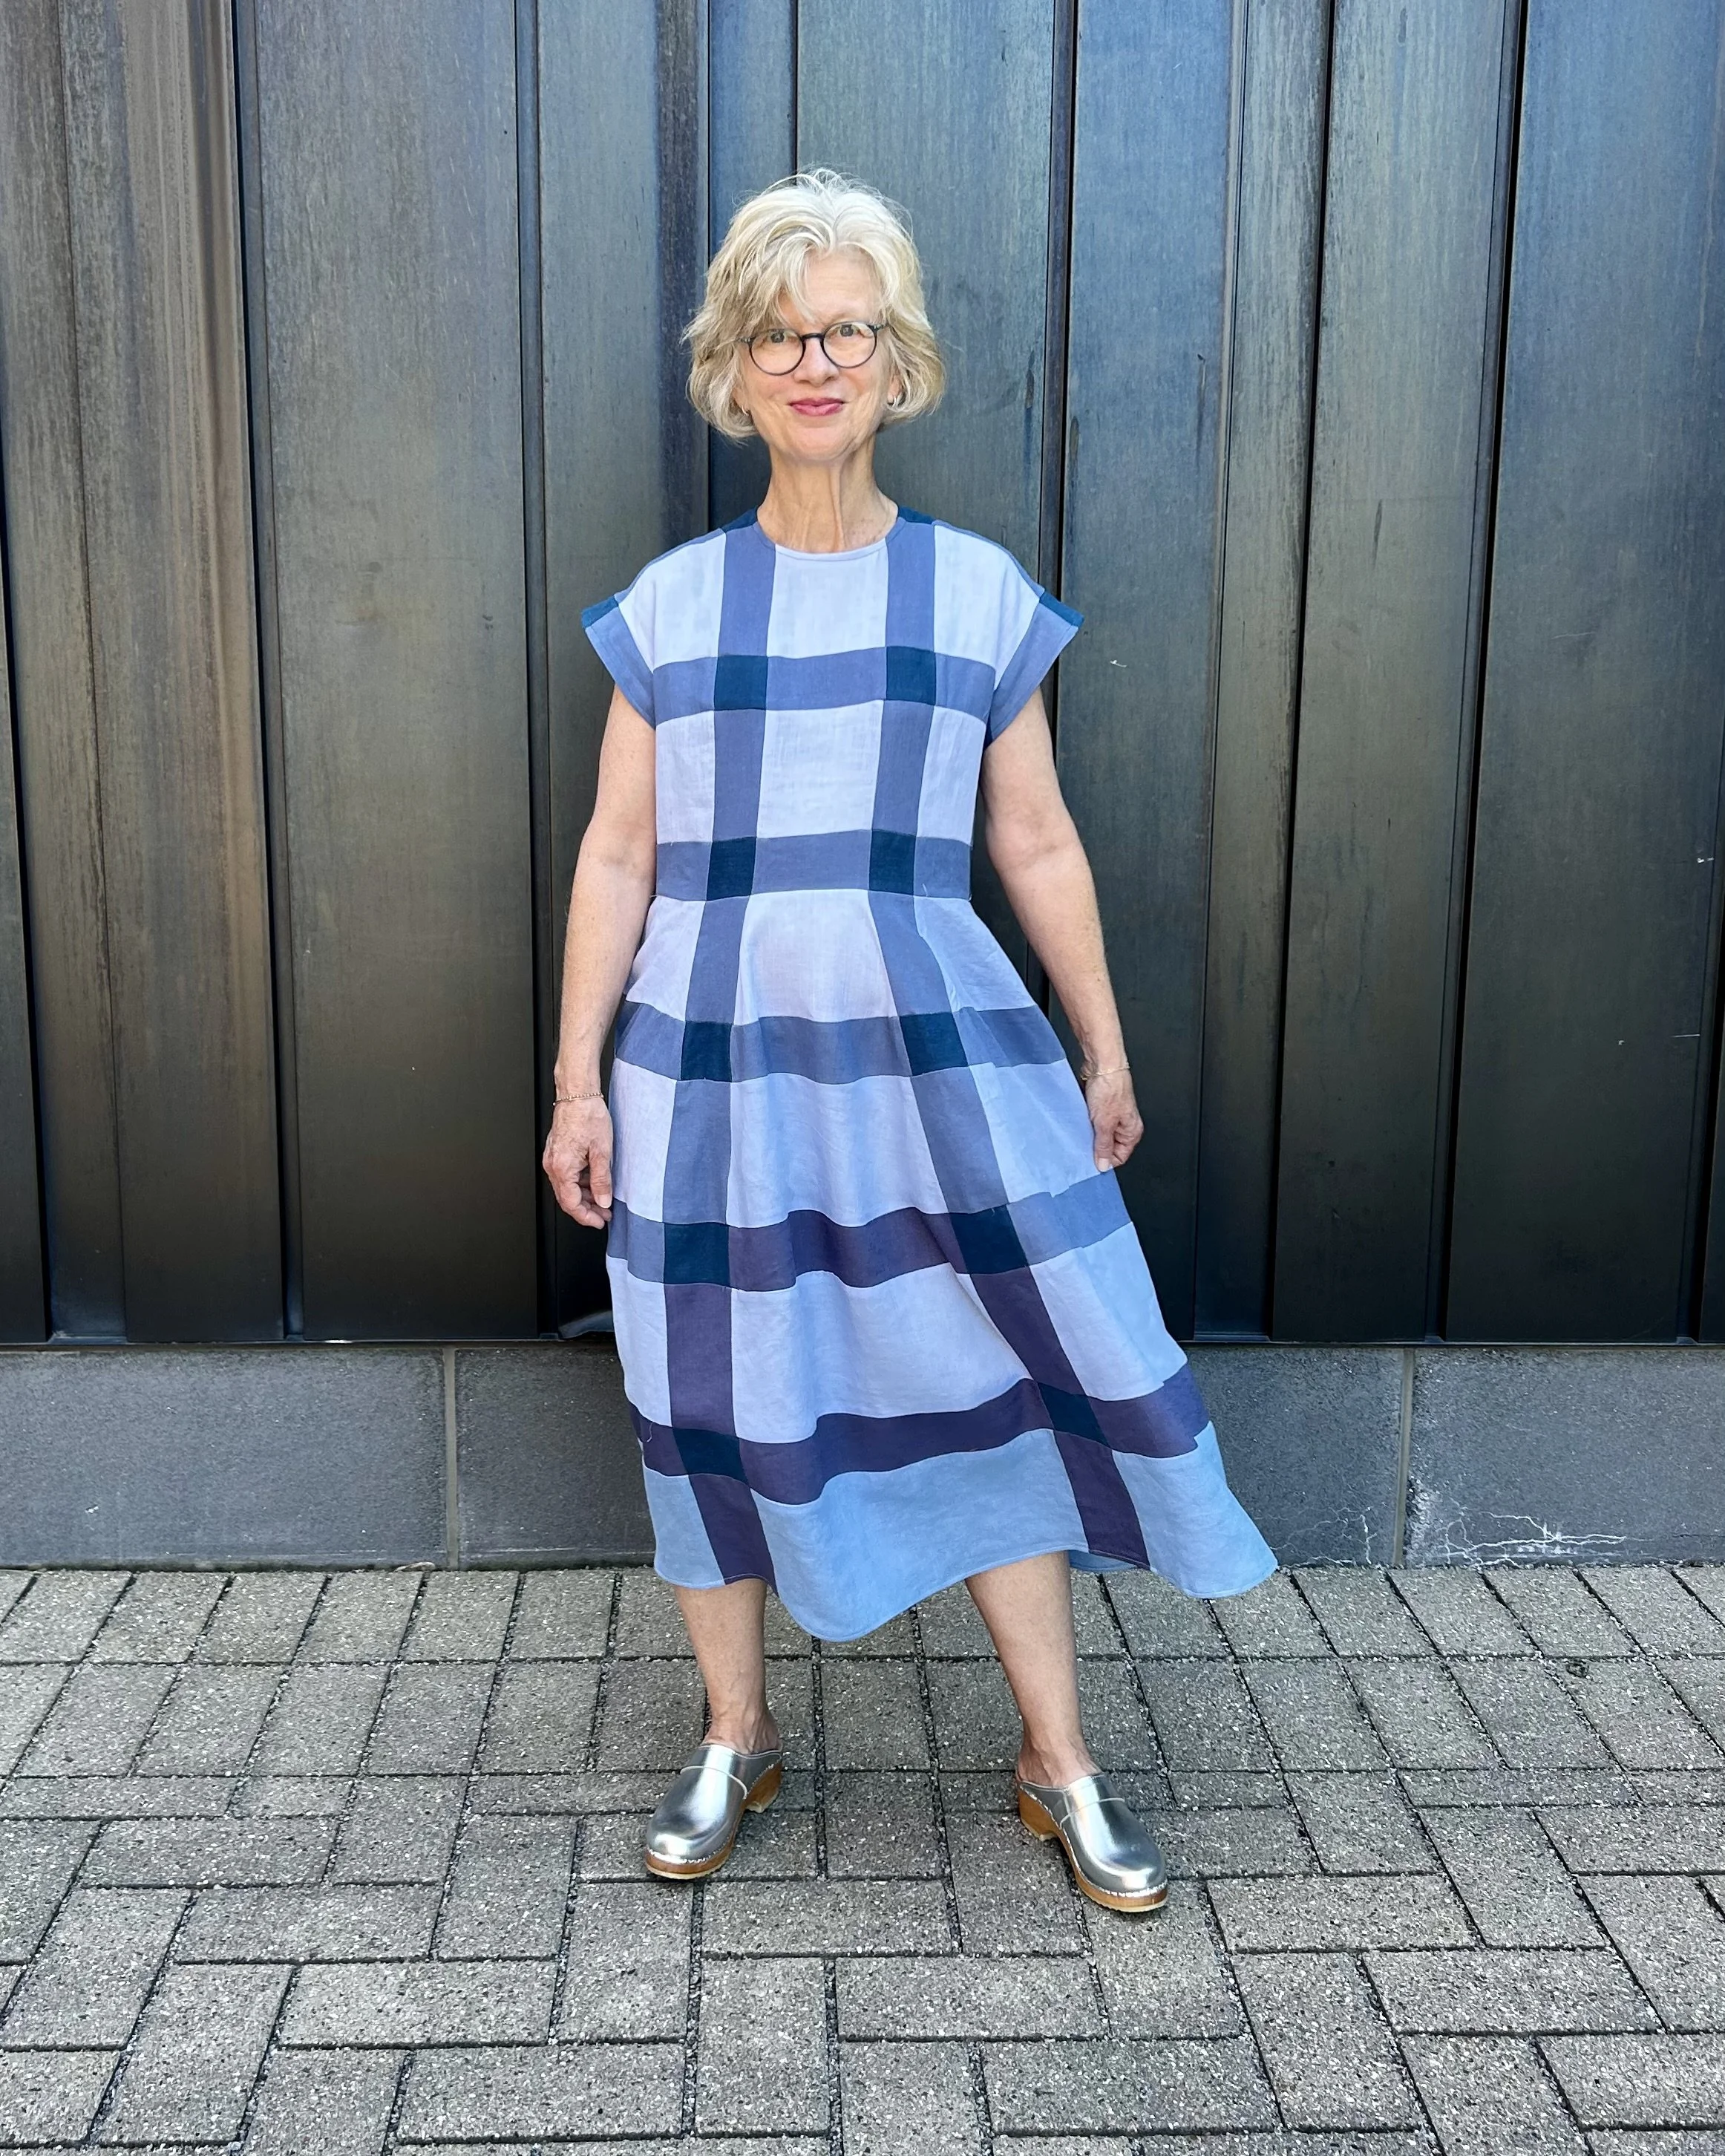
Here’s a rough outline and my first draft: I printed the pattern at home and taped the pattern pieces together. There are over 100 pieces all labelled by code. and they are mostly small and super manageable in scale. The pattern includes a plan for using three colors of fabric and some variations on how to implement a three color color-scheme. There is approximate yardage use provided if you make the dress from three fabrics. My plan was to use linen scraps and remnants so I had more than three fabrics to work into the design and I spent a few days head scratching on colors and placement. I ended up with six different colors. The pattern includes a coloring sheet to help visualize. I think some people are born with color genius- but I struggle. I have an artist friend who once told me that all shades of blue look good together- even if some lean green and some lean violet- which was the case with my fabric. I had a lot of fabric on hand, but in order to get a grid effect with lights and darks, I ended up purchasing two small amounts of blue linen - approximately one yard total from the local shops.
One challenge with cutting out from remnants is getting a straight grain- and some of my pieces felt a bit shifty- or off grain. I cut out and organized the pieces by top front and back, sleeves, and skirt front and back per pattern recommendations. The pattern instructions are comprehensive and first rate. I don’t follow sewing instructions closely when making a typical garment- but this pattern requires careful attention- the pattern instruction - 80 pages long including appendices- begin by suggesting you read the instructions first before starting- and I did that- although I admit skimmed parts.
Once I had the pieces sorted I started sewing following the instructionsand things really picked up. I surprisingly enjoyed putting the pieces together like a jigsaw, and the clever drafting meant the pieces started creating a three dimensional shape. It was both meditative to sew all those pieces, and thrilling to see them coming together in form. I can get caught up in a project, but I thought I would have to push myself on this one given all the pieces. Surprisingly, I went all in- completely obsessed. I finished the dress much sooner than I anticipated.
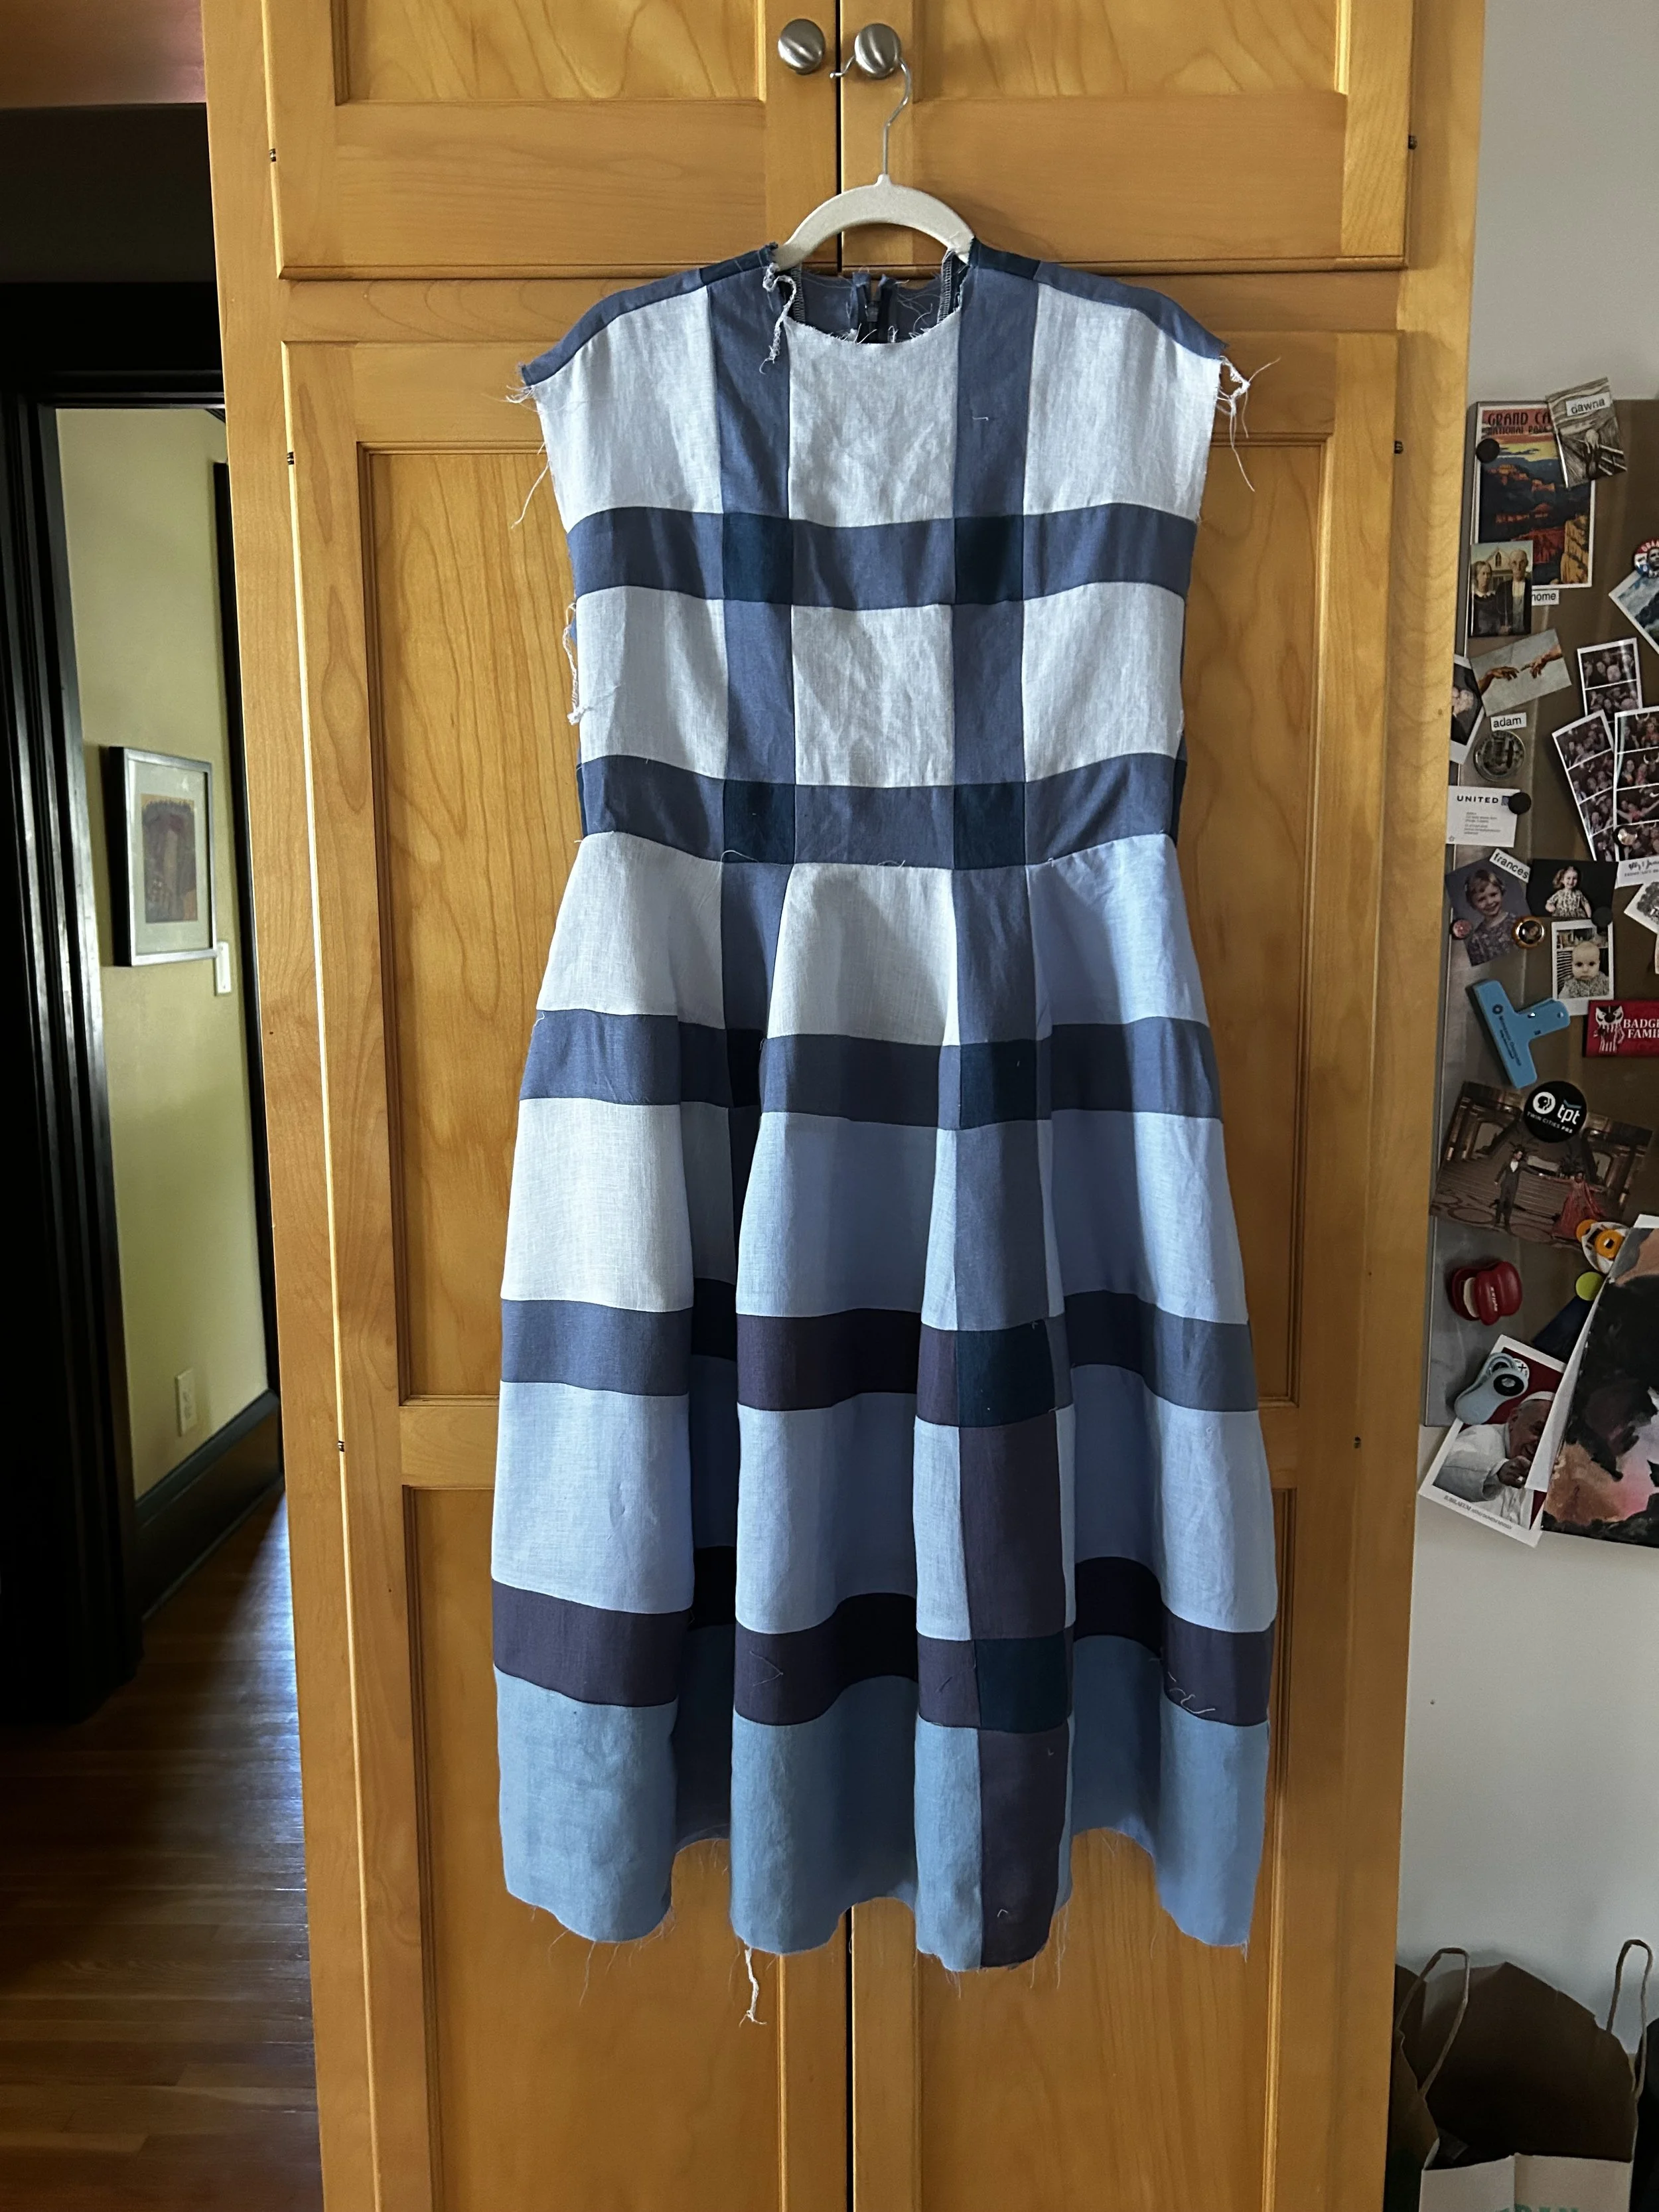
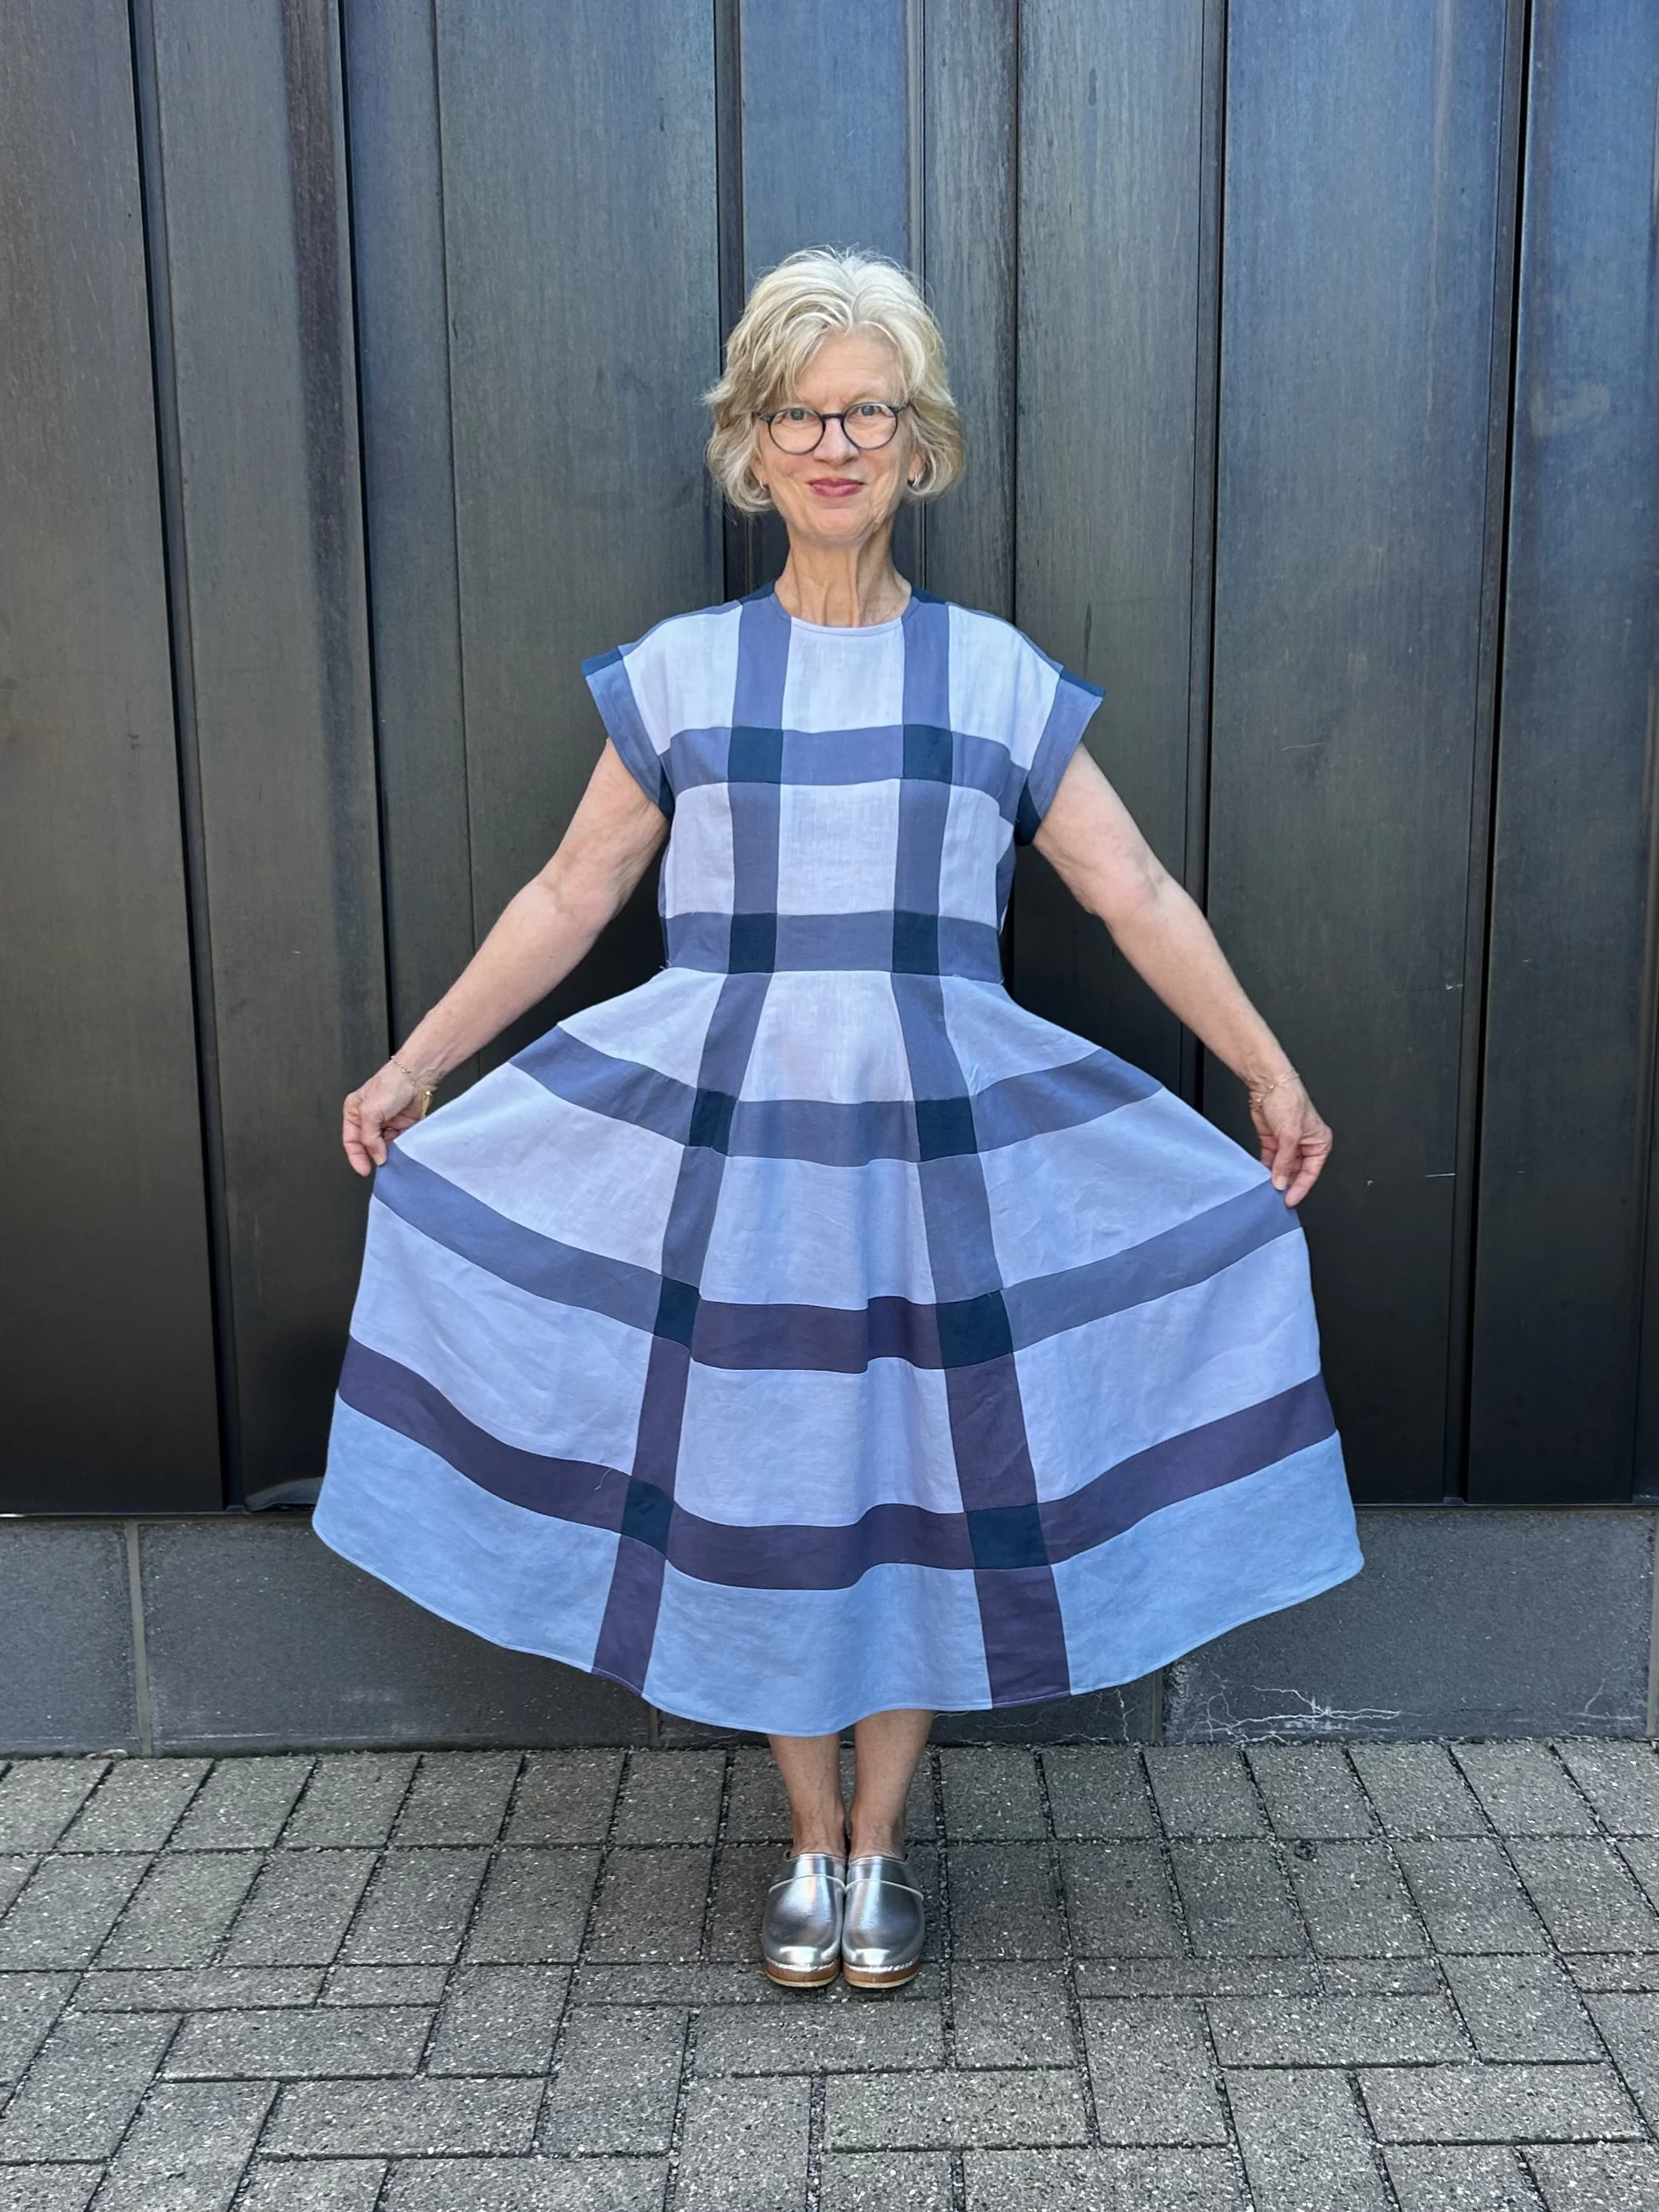
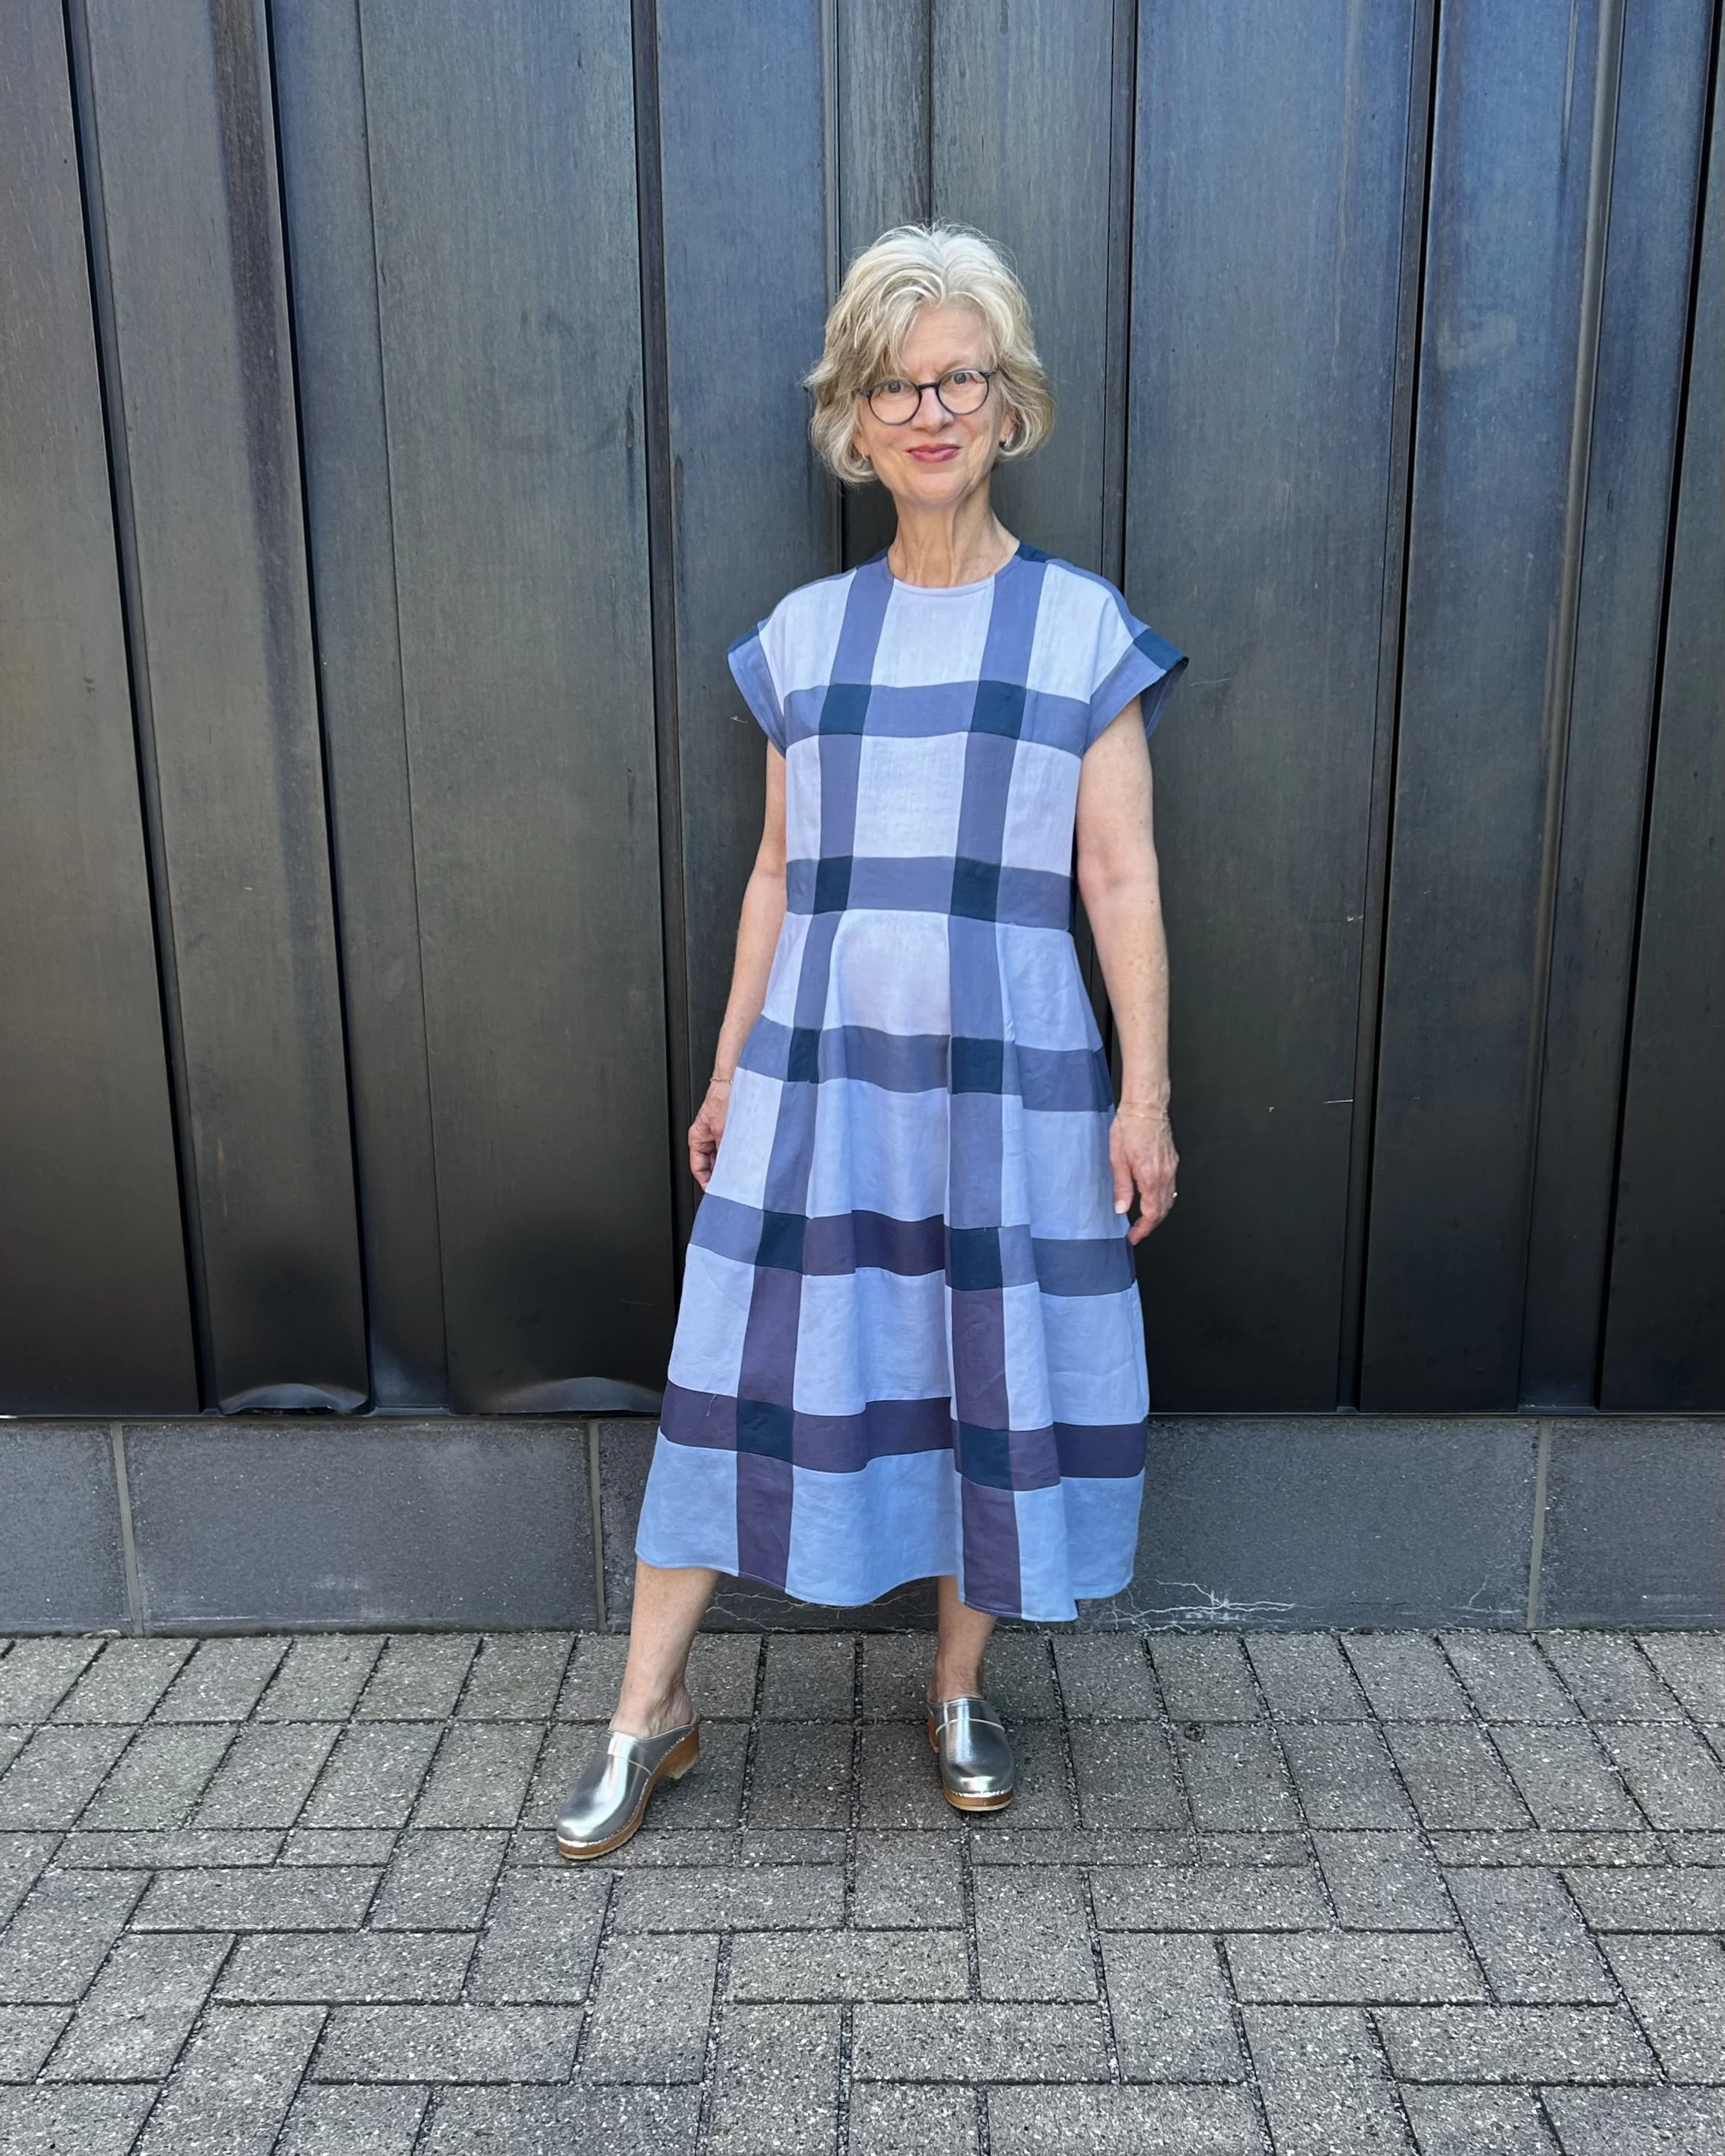
I made a size 6-8. I did not put in the elastic inner waist and I skipped the pockets- which I typically omit- might be a lazy bones thing, but also I worry that pockets can bag out a dress. I made the cap sleeve version because I didn’t have enough fabric for a long sleeve dress- although I really like the look of the long sleeve version.

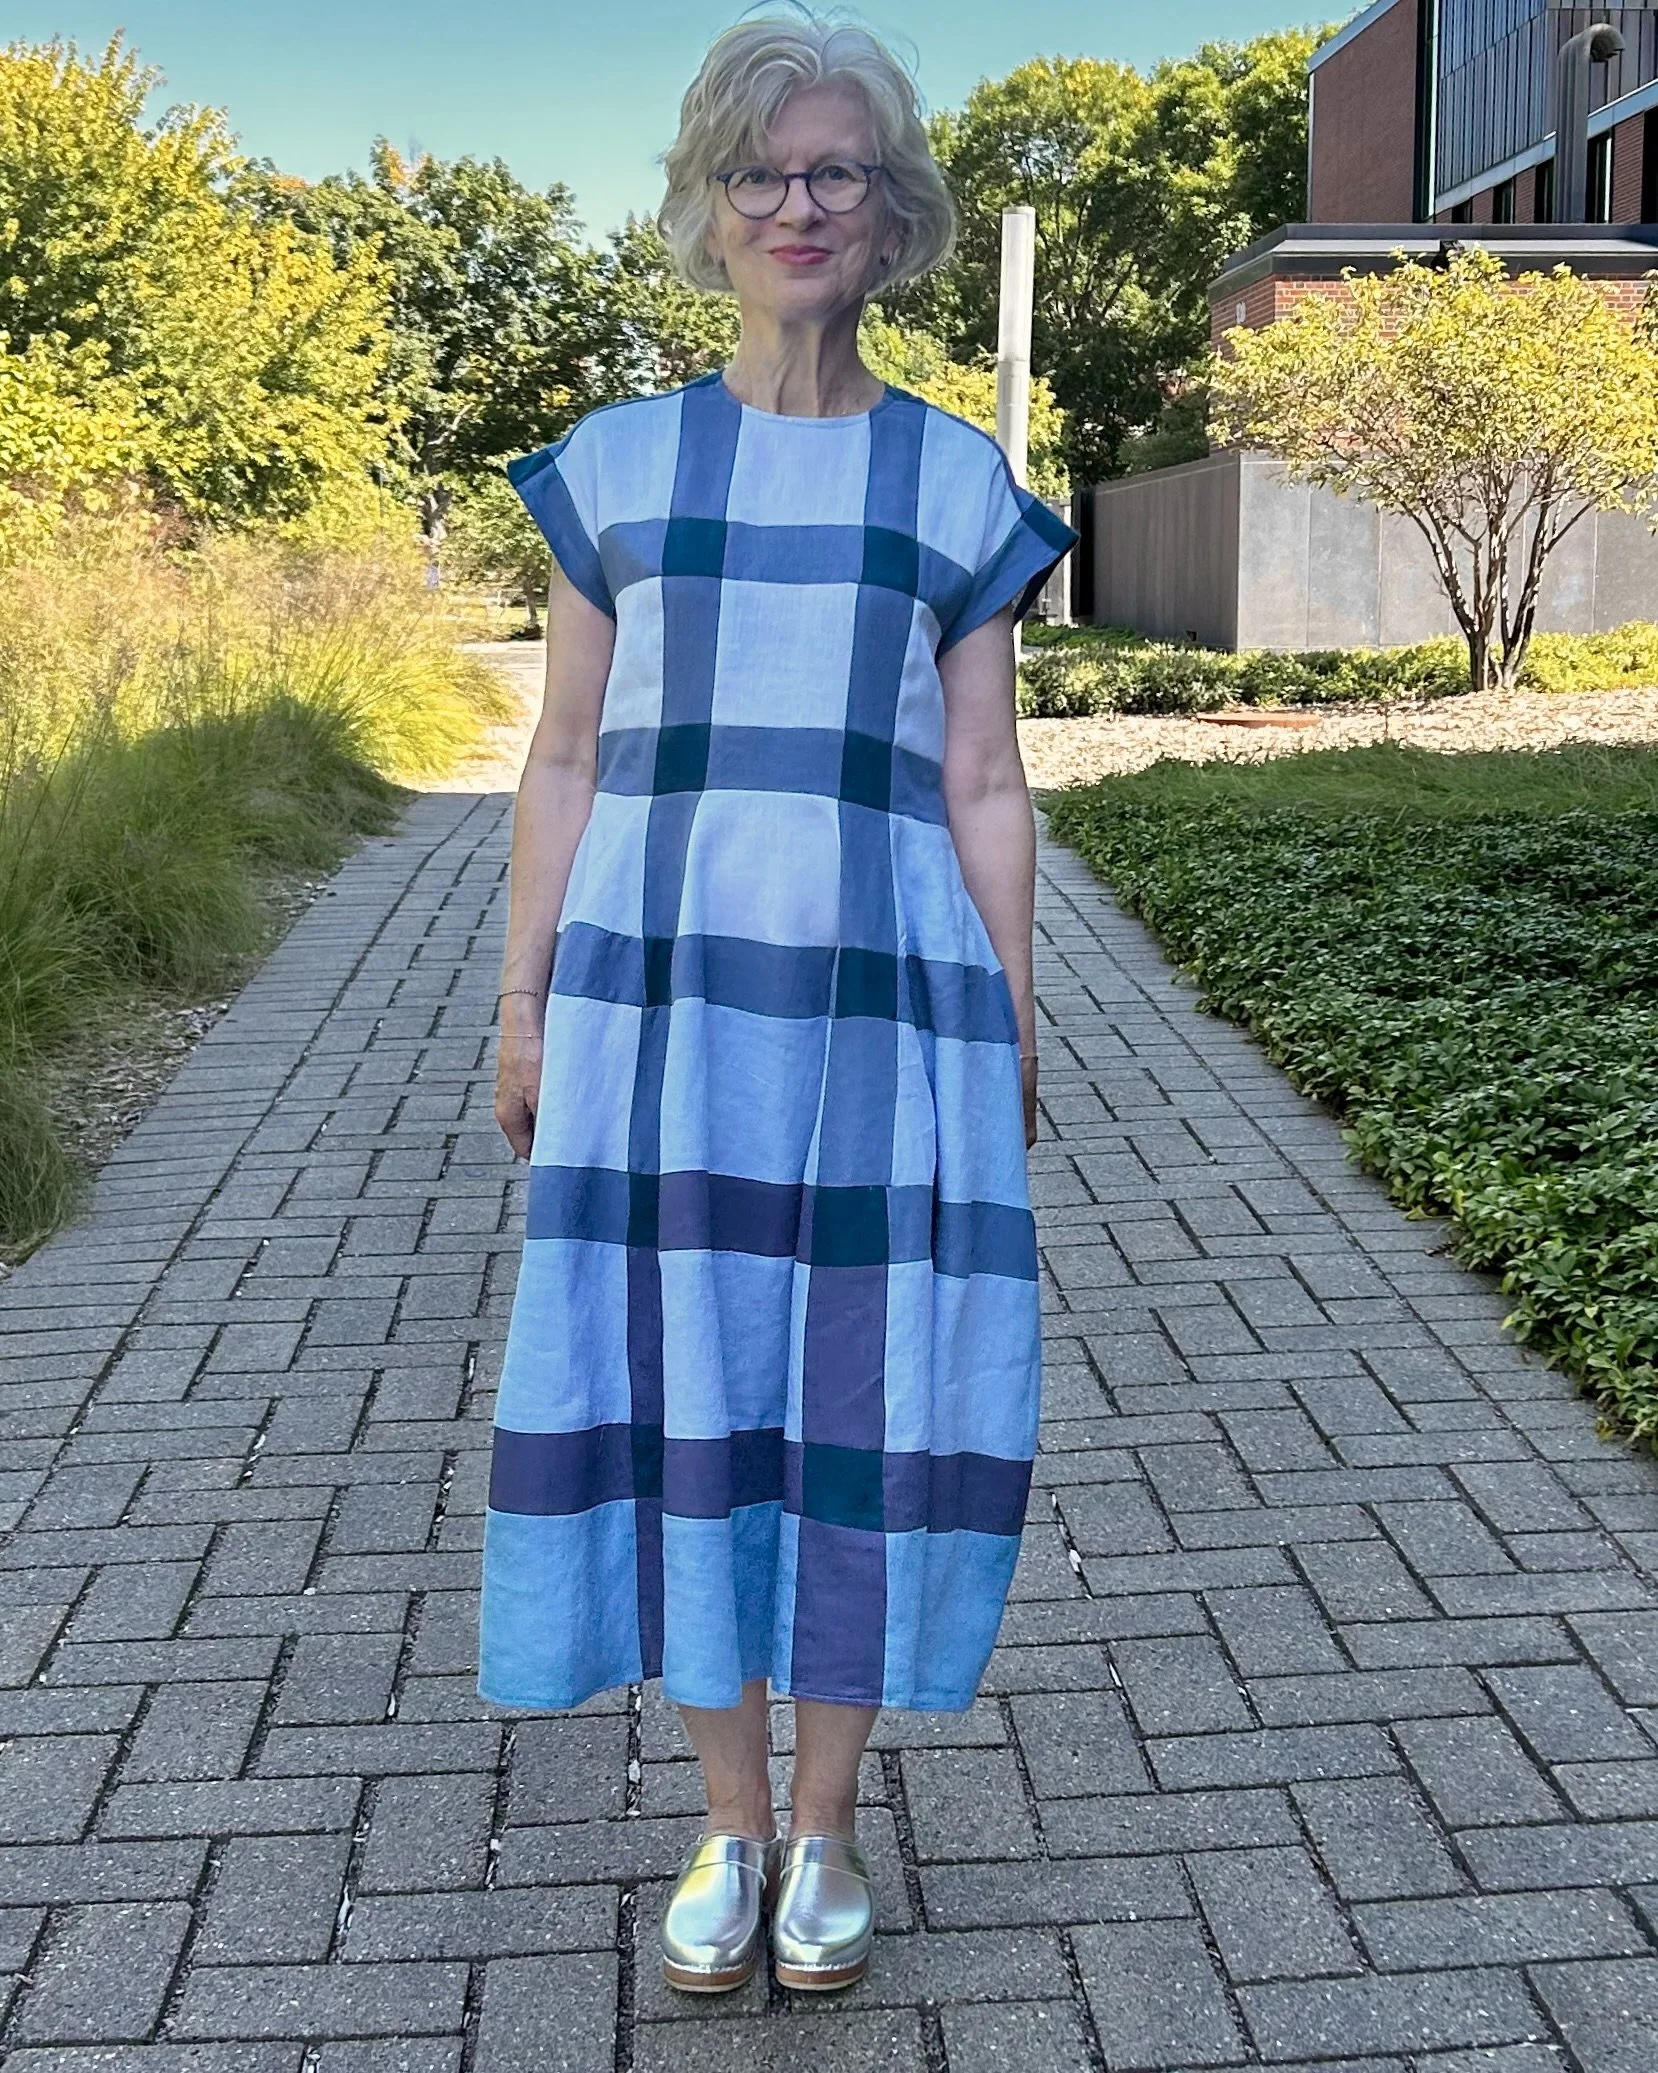
Dare I say I would like to do another version now that I did a first draft? I love the look and there is something extra satisfying knowing I designed the fabric for this in a manner of speaking.