Ahoy! Romero trousers and sewing friends

Ahoy!  Several weeks ago, Instagram friends from across the globe- @suestoney @sewing_in_spain  - asked me to co-host the “Make a Garment a Month” (MAGAM) sewing challenge on Instagram in April.  No need to ask twice- it’s been a long and socially isolating winter, and I was more than ready for some sewing camaraderie.   And even though I’m more than used to conducting business and socializing online this year- it was a real thrill to have a Zoom meeting with Suzy and Sue over three continents: Europe, Australia and North America.  The guest host gets to pick the prompt for the monthly sewing challenge, and since my sewing daydreams were most recently filled with nautical style, I pitched April Ahoy as a theme.

I have a longstanding crush on nautical style.  Maybe it was all those J. Crew mail order catalogs I used to get in the 1980’s where everyone looked so healthy, fresh and happy. Nautical looks are timeless and suit everyone- they are gender and age neutral.  I love, love, love striped tops (and striped dresses), boat neck styles, pea coats, brass buttons- anything in the color navy! When I was in high school, I actually owned a full on navy sailor dress complete with a white sailor style collar and red neck tie. My long-time maritime romance is puzzling – as I am a lifelong resident of Minnesota- smack dab in the middle of the continent.

IMG_1771.jpg

For my nautical project I made the Pauline and Alice Romero sailor style trousers which I’ve made before - and I blogged about here. I always felt they were a little snug and I wanted to give the pattern another try to get a better fit.

FullSizeRender (3).jpg

There’s more than a few theories out there about the evolution of the wide legged sailor pant.  Some say the wide leg could be easily rolled up so feet and ankles were free from getting tangled while working on the rigging of sailing ships. Another theory is that rolling the pant prevents it from getting wet when swabbing the deck. One actual, practical use of the pants is as a life saving device.  If you have to abandon ship or fall overboard, you can easily remove the wide leg trouser, tie the legs in a knot and inflate the trousers with air.  Making pants into a flotation device is something I actually practiced in a water safety class when I was young.

FullSizeRender (2).jpg

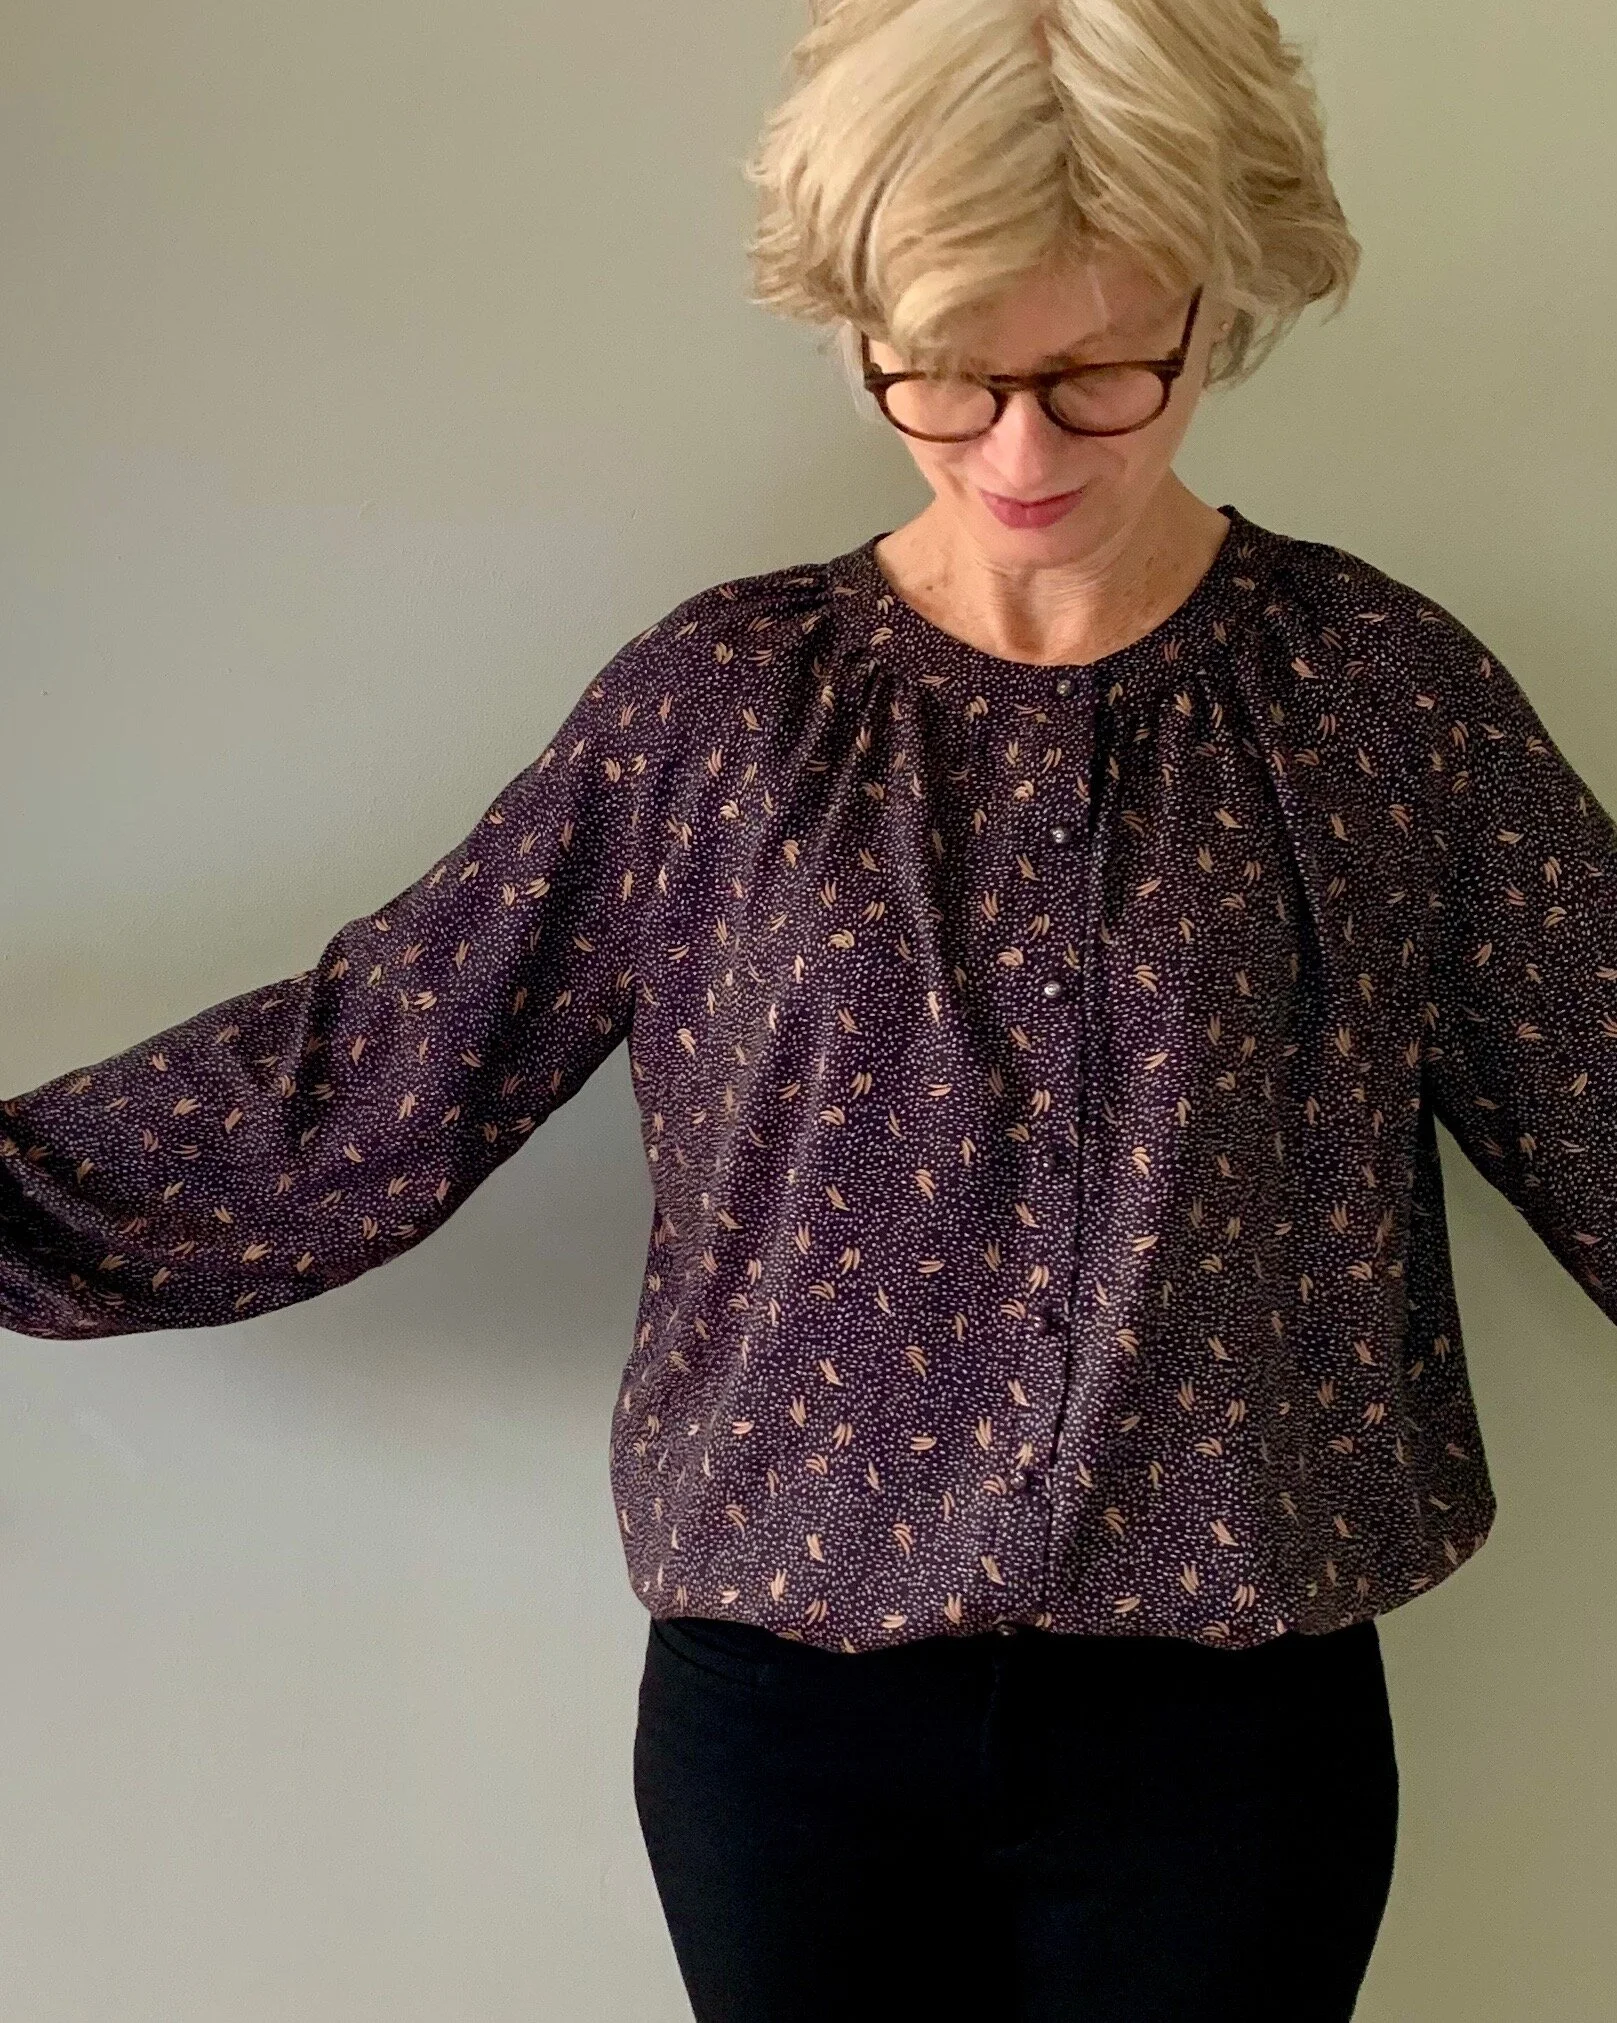
Back to my pants project.  I used a twill fabric which had some stretch that I purchased a while back from the Fabric Store.  I cut a straight size 40.  Then, I carefully followed the excellent instructions for adjusting for a full backside provided by Colette- here

IMG_0067.jpg

Armed with colored pencils and a ruler- it was pretty straightforward to add some leeway to portside!

IMG_0068.jpg

And I achieved a ship shape fit after the adjustments!

FullSizeRender (1).jpg

To finish, I scoured my button collection and came up with almost enough brass buttons for the pants- there is one orphan button- still nautical though.

FullSizeRender (4).jpg

I am super pleased with my trousers- but the best aspect of this project by far- was the fraternizing fun- especially all of the nautical puns -shared with co-captains Suzy and Sue.

Upcycling and Refashioning with Vogue 9004

I was cleaning/organizing the cupboards in the basement on Saturday – just living my typical best life weekend edition.  Among our silk screening supplies, there were several old men’s dress men’s (discarded from the spouse) that we wear to protect our clothes when silk screening.  Two of the shirts looked so nice together, I started plotting a refashion sewing project, and my life and outlook immediately improved.

IMG_9364.jpg

 I am more than familiar with taking apart my sewing projects and remaking to get a good result.  But refashioning and upcycling, is a relatively new adventure for me.  With a refashion, the original garment gets a complete transformation into something very different. After spending a moment journeying down the refashion rabbit hole on the internet, I settled on using Vogue 9004, because I owned it, and because it was hot and a sleeveless blouse seemed a perfect idea.

IMG_8862.jpg

First step was to disassemble the shirt.  After I took the sleeves off and separated the front and back from the collar, I played around with placing the pattern pieces.  I hoped to make use of the buttons or button holes for the back instead of using a zipper as called for in the pattern.  Love the fact that everything I need for this project can be found in these two shirts- except for thread and some interfacing.   In the best of all possible worlds, I would have preferred to make use of the button holes- button hole anxiety is real even after all these years.  But fitting front and back pattern pieces left me with the button side- which was better than nothing.  Although, note it was a little tricky when finishing to line up the button holes with the pre-sewn buttons.

IMG_8863.jpg

The pattern actually calls for a zipper in back and you can see the back is a little bit nipped and fitted.  I cut the back straight to make use of the button up closure, so the top is a less fitted- which I prefer. That was the only change I made to the pattern.  I cut the bias strips for finishing the armholes from the sleeves.

IMG_9361.jpg

The only tricky aspect to this project was negotiating the different weights of the shirts.  The white stripe is woven tighter and firmer (nicer) than the blue- I assume this translates to a higher thread count.  I had to fuse in some additional interfacing in the end to get a little extra body on the blue half of this top.

IMG_9357.jpg

I had so much fun with this project and it was such a win to make a fun top out of something destined for the recycling bin. So, I promptly asked the spouse if there were any other dress shirts that he was ready to discard.  Stay tuned.

IMG_8860.jpg


Lotta love: Pilvi and Esme

Pre-pandemic, my sewing plans for March included making a project (or two) from the sewing book Everyday Style by Lotta Jansdotter. I had my eye on this book for nearly a year, and I finally got the nudge I needed to purchase it when Sue Stoney and Ali @robinsnest1926 announced a Lotta challenge on Instagram.  I love the Scandinavian design and styling in this book- it is modern, unfussy and joyful. As it turns out, sewing from Everyday Style was the perfect antidote to our current upended world. The projects I made provided a much needed tonic for these complicated pandemic days. Both of the projects are happy and effortless.

IMG_0823.jpg

I made the Esme Tunic first.  I am one of those rare birds that actually likes a woven pullover top.  I think it’s because I am most comfortable sewing woven fabrics.  The Esme features a great looking neckline and French style darts and facings.  I made a wearable toile from a Japanese cotton canvas from Treadle Yard Goods that I found in my deep stash.  I think I actually purchased this material for a home dec project that went wayward.  This isn’t a color I normally wear- or let’s be honest- previously have never worn!  But, it sure is happy, and yellow is definitely prominently featured in the styling in this book. 

IMG_9706.jpg

First step is to trace off the pattern pieces.  The seam allowances are included- so it’s actually super quick.  Also the top has only a few pattern pieces.  I cut out a straight size extra small even though according to the measurements, I should have graded out a size for waist and hips.  But the top looked like it had plenty of ease and that was a good call.

IMG_9697.jpg

This is a super straightforward and simple top.  I like the easy cut and -I may be old school- but I actually prefer a neckline facing to bias binding.  There is plenty of ease across the back and shoulders and through the sleeves- bonus.  This proved very comfortable to wear- the drafting is spot on.  The instructions call for top stitching around the neckline, but I omitted that because the print is busy.  I simply under-stitched the facings and they lay perfectly flat. I found I had only an inch for a hem which I think looks a little skimpy if it’s top-stitched, so I hand sewed a blind hem. 

IMG_9698.jpg

My second project from the book is the Pilvi coat- which is actually the pattern that first attracted me to this book.  This is a super clean and simple style. The only trick was finding a fabric that was interesting but not crazy. I happily stumbled over the fabric of my dreams at the Sewing Lounge.  The fabric is PERFECT for this coat.  It is a hefty polyester jacquard with great body and a fabulous happy print.  Again, this fabric and pattern proved to be a necessary mood boost for troubling days. 

IMG_0232.jpg

I LOVE the look and fit of this coat.  It is easy and comfortable and the raglan sleeves give perfect range of motion.

IMG_0293.jpg

The only tiniest complaint is the sleeve length is short.  I like a three quarter sleeve length, but I had minimal length for the hem on the sleeves.  For reference I am 5’ 4”.  The coat body length, however, is generous- I had to trim 2 inches and still had a substantial hem.

The only time consuming part of this project is finishing the seams.  I used a Hong Kong finish- which I discovered is not the same as a bias finish- explained beautifully by Colette here.  For my Hong Kong finish I purchased bias tape- since the fabric is polyester a cotton polyester blend is perfectly fine and the store bought blue was a good match. For a Hong Kong finish, the binding on the wrong side of the seam allowance is left unfolded- which reduces bulk. For directions on bias bound seams, see Colette’s instructions here.

IMG_0899.jpg

Both the Esme tunic and the Pilvi coat patterns are also remarkable because they are modeled in the book by women who are 50 years of age or older. Definitely LOVE and am happy to support pattern makers who include older models in styling and other marketing for the pattern. Thanks Lotta!

IMG_0316.jpg

Desert Performance Ruska

This is my first bona fide performance wear top!

IMG_7479.jpg

I needed a long sleeve active wear top for a holiday weekend hiking trip in Joshua Tree National Park. Desert weather can be harsh- and I need both sun protection and climate control.  Desert climate and making active wear are both pretty foreign to this Northern girl- so where to start?

To simplify things, I chose my favorite t-shirt pattern from Named Clothing Breaking the Pattern book- Ruska.  I made four Ruska tops this past year, including two merino wool Ruska tops which are absolutely suitable for active pursuits.  But this latest make turned out to be next level active wear.

Fabric choice was a big question mark.  I know my way around natural fibers- since that’s predominately what I sew- but active wear fabric is another ball game.  So, before buying, I did a little research.

I knew I needed a fabric with wicking power.   This is true even in our cold weather climate here in Minnesota.  Wicking means the fabric wicks moisture away and the fabric doesn’t absorb moisture- so after exertion (and sweating) you stay dry and comfortable.  You want to avoid-sweating after a run or climb and then getting chilly because your shirt is wet.  Wicking fabric also acts as a good insulator. Note the snow in the desert below.

IMG_0106.jpg

Wool is a wicking fiber; it wicks water from the body.  However, wool doesn’t dry as fast as some synthetics because the wool fibers absorb moisture.  Polyester is a core fiber for athletic wear because of its moisture control benefits:  it both dries rapidly (it doesn’t absorb moisture) and it wicks sweat from the body due to the yarn structure. Nylon has the same moisture control properties. In addition, nylon is also super strong and abrasion resistant- or long-lasting. Note, nylon is more expensive than polyester.

Stretch is the other key quality for performance wear.  Again, natural fiber knits have stretch, but special stretch fibers provide four way stretch capacity, and/or better recovery- read- no bagging.  So for performance fabric stretch, the fabric should contain Lycra, elastene or spandex.  One active wear designer recommends the fabric contain at least 12% Lycra, spandex or elastane to give you performance level freedom of movement.

This particular performance wear fabric is from Fabric.com.  It is described as an athletic medium weight double knit.  The description suggests it is “perfect for athletic tops, leggings, low impact sports bras, dancewear and swimwear.”  That pretty much covers all the performance bases.  The fabric content is 75% polyester and 25% Lycra- which is plenty of Lycra for a maximum range of movement. Bonus- it’s a floral, for cute desert hiking style. Another bonus quality of polyester is it’s color vibrancy and ability to hold color- which means this fabric will continue to blossom brightly even after many desert suns.

IMG_7767.jpg


Sewing with this athletic knit was a stroll in the park.  The knit is super stable, absolutely no raveling or curling. I sewed this up on my regular machine with a straight stitch even though I have a zig zag option on my machine.  When sewing knits, I simply increase the stitch length slightly to 3 mm and hold onto the fabric both in front of and behind the needle.  With both hands, I pull the fabric very slightly -and gently- as it feeds under the presser foot. And that’s it. 

IMG_7518.jpg

Happily, this beauty performed outstandingly while covering approximately 10 miles in one day and comfortably withstanding wind and sun and changing temps. I plan to make some bottoms out of this fabric soon.

Fluent in French- Blousette Rose in Atelier Brunette

It seemed appropriate to use a French pattern for my first project with the much admired Atelier Brunette viscose.  My spouse is fairly fluent in French. He studied in France twice and has attended a biweekly French conversation breakfast group for the past 30 plus years. I took some French language and culture classes in college, and we have hosted my spouses’ French friends and their children at our house numerous times over the decades.  Given all this, I may have been a bit over confident in my cross cultural abilities, when I went ahead and purchased Campanule- La Chemise Bohème- as a pattern down load- fully aware the pattern maker Blousette Rose didn’t offer the instructions for this pattern in English.

IMG_4184.jpg

The first little bump was trying to figure out whether the pattern pieces included seam allowances. My language skills were useless- but a quick Google search confirmed they didn’t- Merd!

The instructions are comprehensive and helpful- especially if you speak French. I particularly like the nicely drawn diagrams that are included.

Screen Shot 2019-11-07 at 5.51.28 PM.png


The instructions also include links to video tutorials- which I checked out. These videos are well done and helpful even if your French language skills are petite- like mine. So, I give this company high marks and no complaints about the pattern instructions- but I give myself a “fail” in my French reading comprehension. Fortunately, this blouse isn’t tricky and I have made a fair number of blouses- so I didn’t really have any problems.

IMG_3938.jpg

 This is my second go around with a French pattern maker- and I found this brand to be quite generous compared to my previous experience.  The sleeves and shirt length were too long for me by two inches- I am 5 foot 4 inches for reference.  The cut is also very generous.  My neckband didn’t lay as flat as I desire- which may be a drafting issue or may be user error- or maybe something was lost in translation.

IMG_4038.jpg

 A word about the fabric.  I found the Atelier Brunette fabric worth the hype.  J’adore!  I tossed it in the wash on gentle to pre-shrink- and it came out perfect.  After wearing the blouse- wrinkles hang out like magic.  I also found the viscose stable and easy to handle when sewing. 

 It was a bit of a challenge to find buttons to match the lovely midnight background on this fabric.  Navy is too bright and black is  – well -- too black.  I found these adorable buttons online that are actually branded Atelier Brunette- so I was able to order with no worries.  I think they are perfect for this shirt.

IMG_4273.jpg

Update- I noted recently that Blousette Rose now offers a small selection of their patterns with instructions for English speakers- but not the Campanule.